Boho Haven - Sunroom
Simple DIY Board and Batten
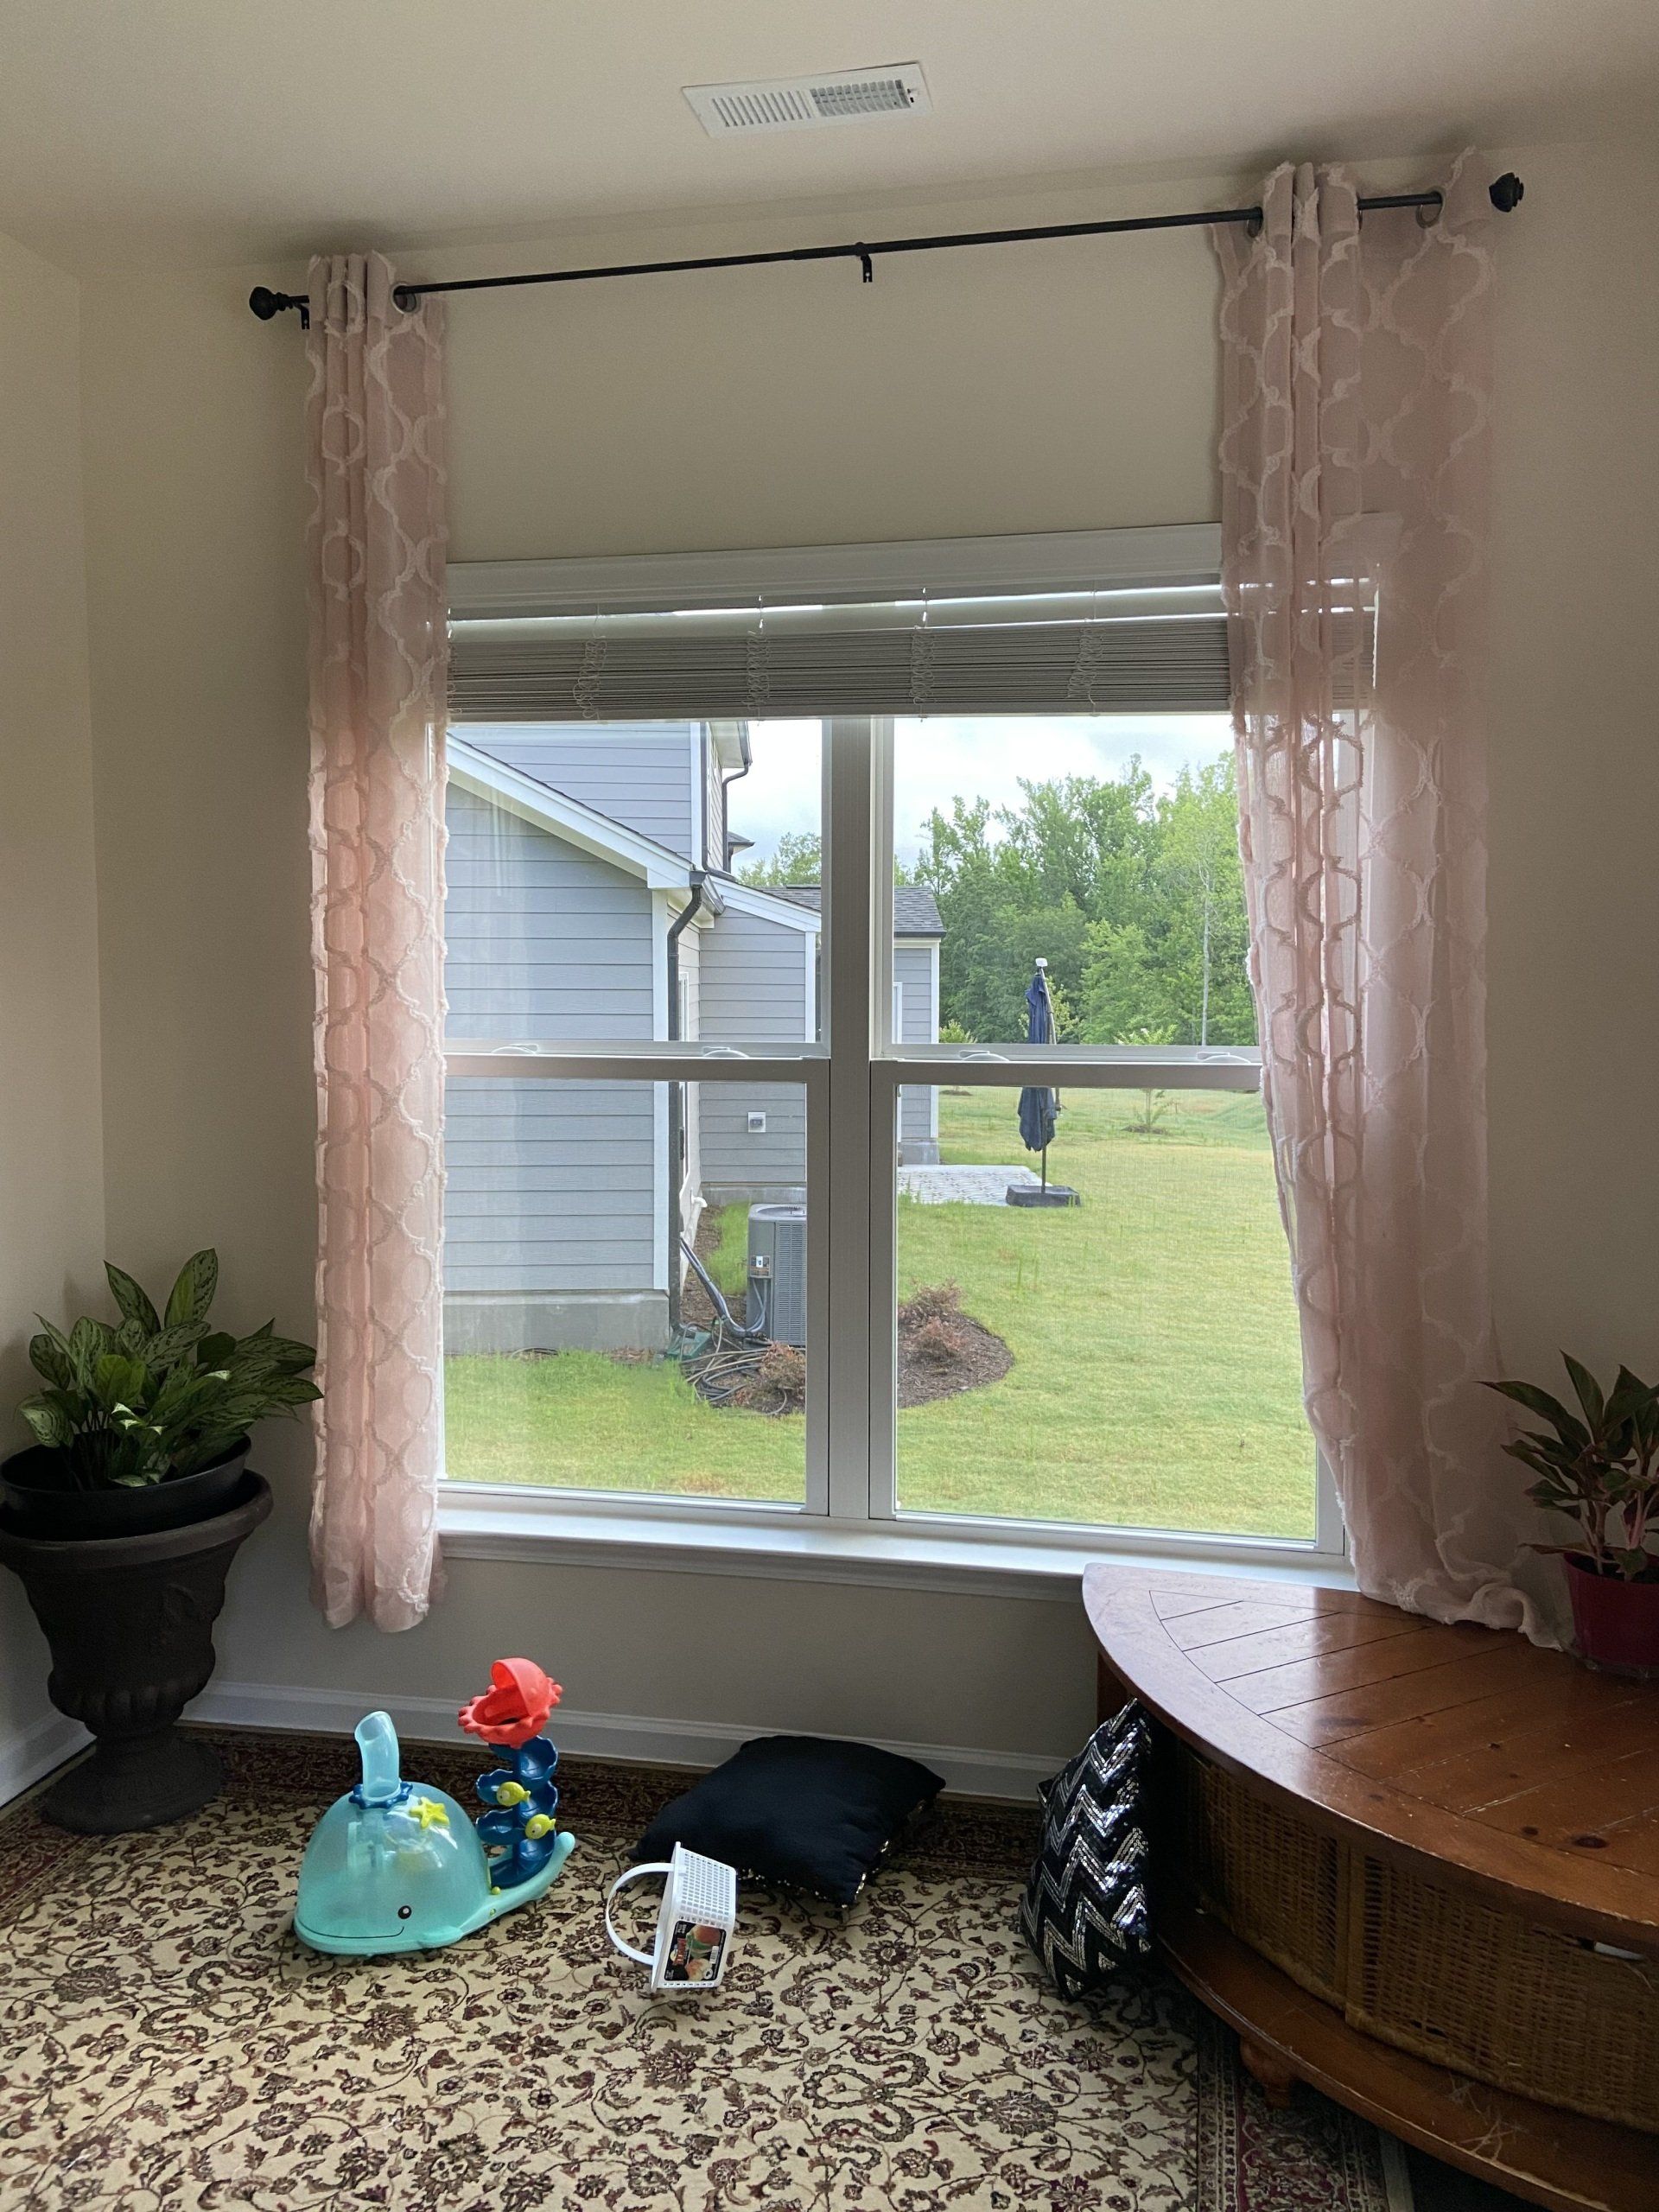
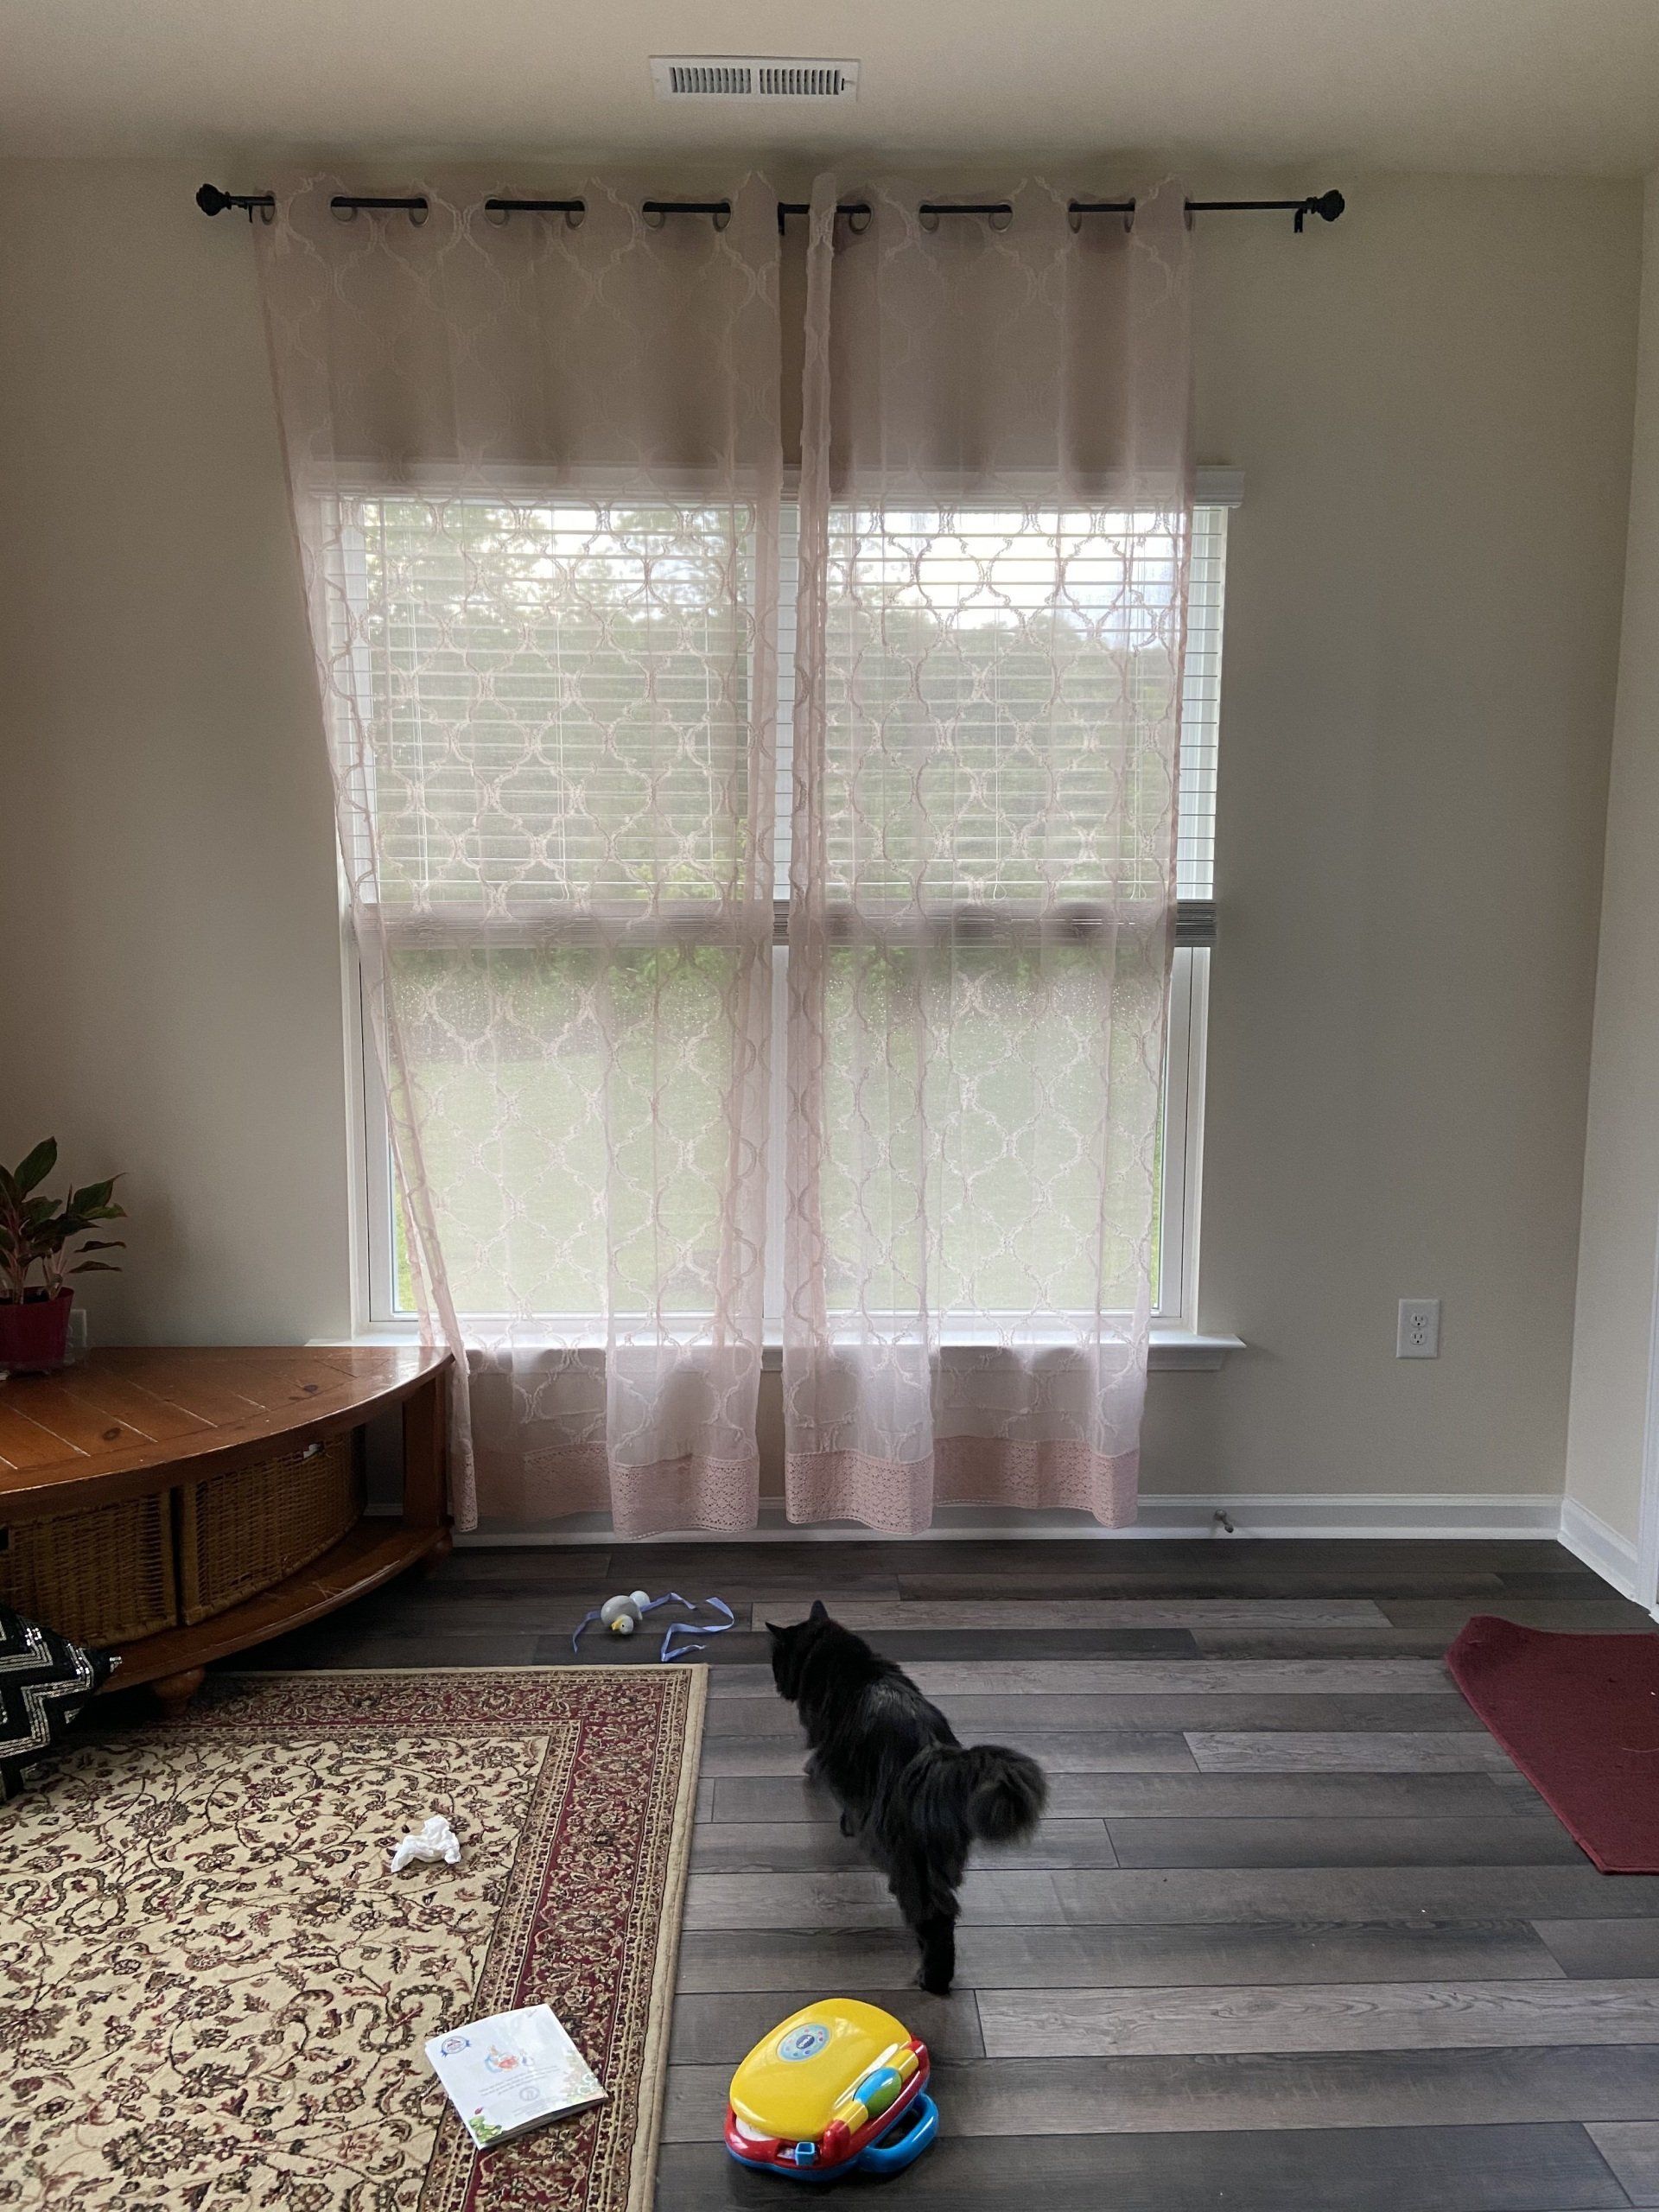
This room takes a lot of beating! From the fur baby to toddlers and adults, we all crash here at some point of the day.
At times, this room has been upside down too! Pillows thrown on the floor, jumping jacks on the day bed, pots shattered and even stolen sugar jar gets devoured here!
Things you need with $$ details :
- Common Board - 1 in. x 3 in. x 8 ft. Common Board - 10 common boards $ 5.60 each approximately $60
- Book Shelves : 1 X 6 boards - 2 boards $6.48 each - approx $15
- Book Shelf Brackets : 3" Brackets - $25.79
- Decorative Trim - 11/16 in trim - $6.56 each , Lowes Carved Ornamental Moulding - $15 each - $42
- Corner Moulding Block - $1.38 x 2 = $2.76
- Circular saw or Miter saw or Miter box - I had it
- Brad nail gun & Sander (18 Gauge) - I had it
- Primer paint - I had it
- Sherwin Williams Garden Spot 25% Strength - I had some samples that I self diluted 3 samples $12
- Wood Filler - $17
- Paintable Caulk - $12
Total budget : Under $200
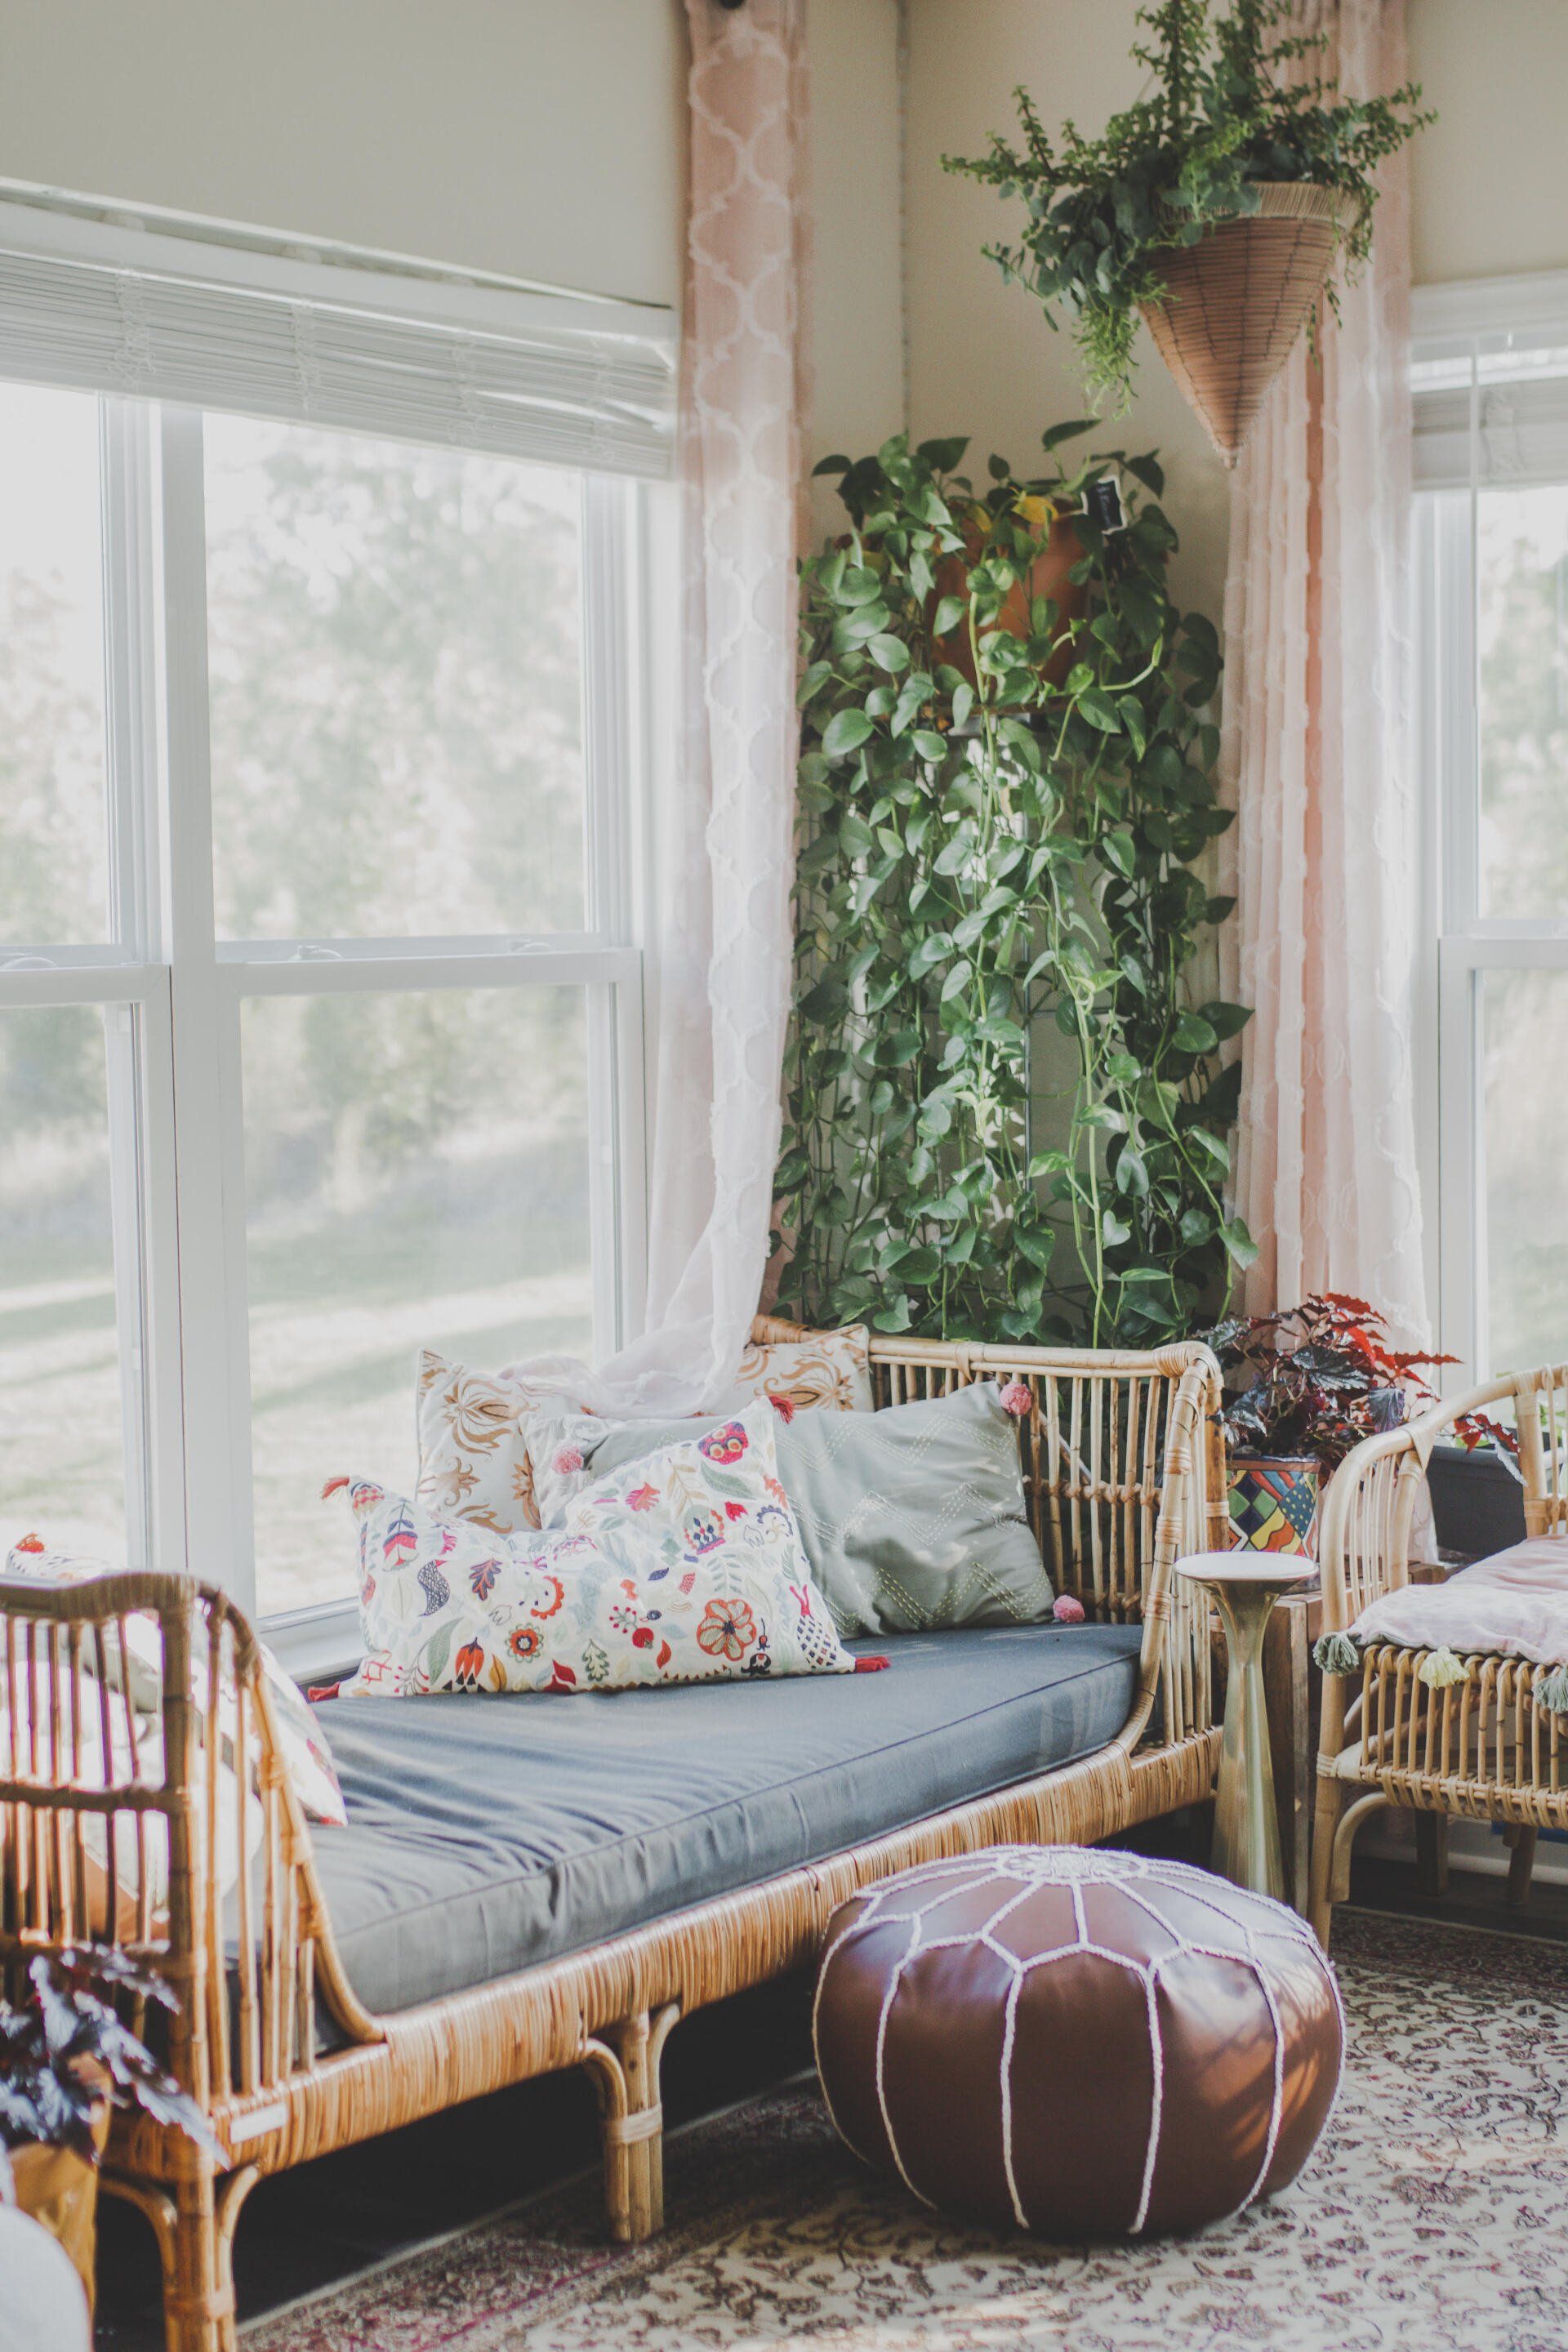
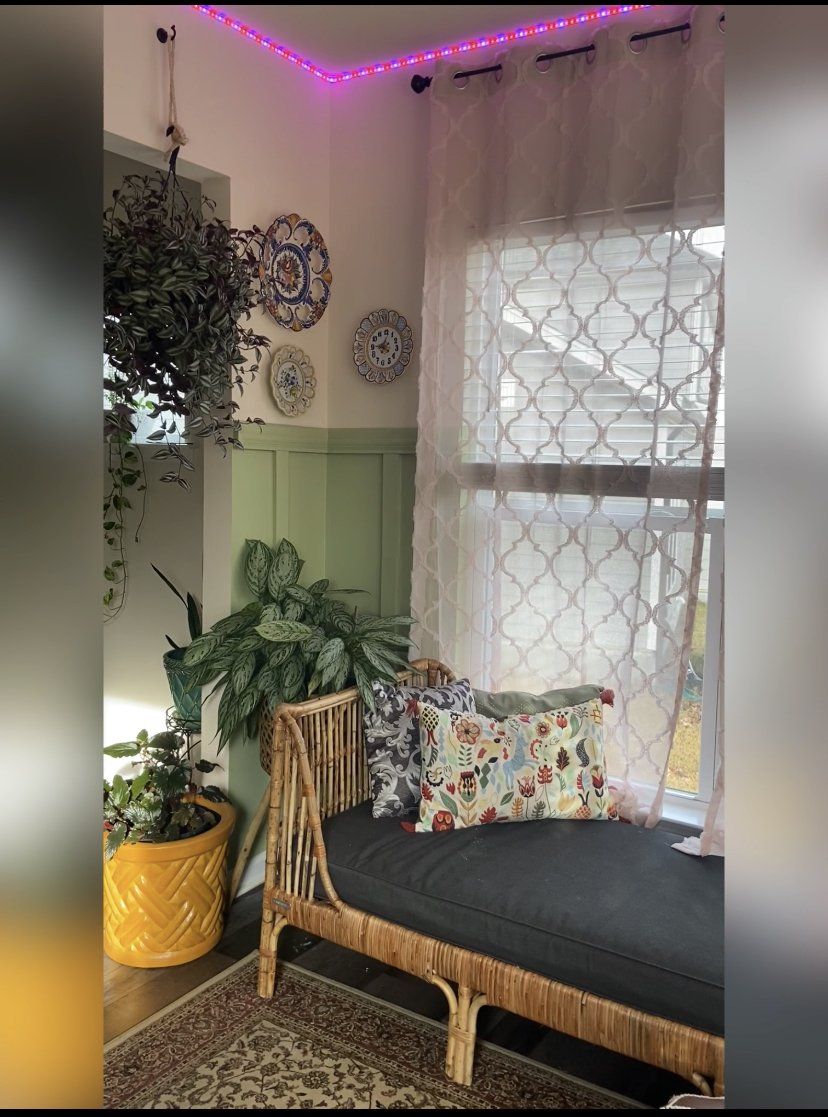
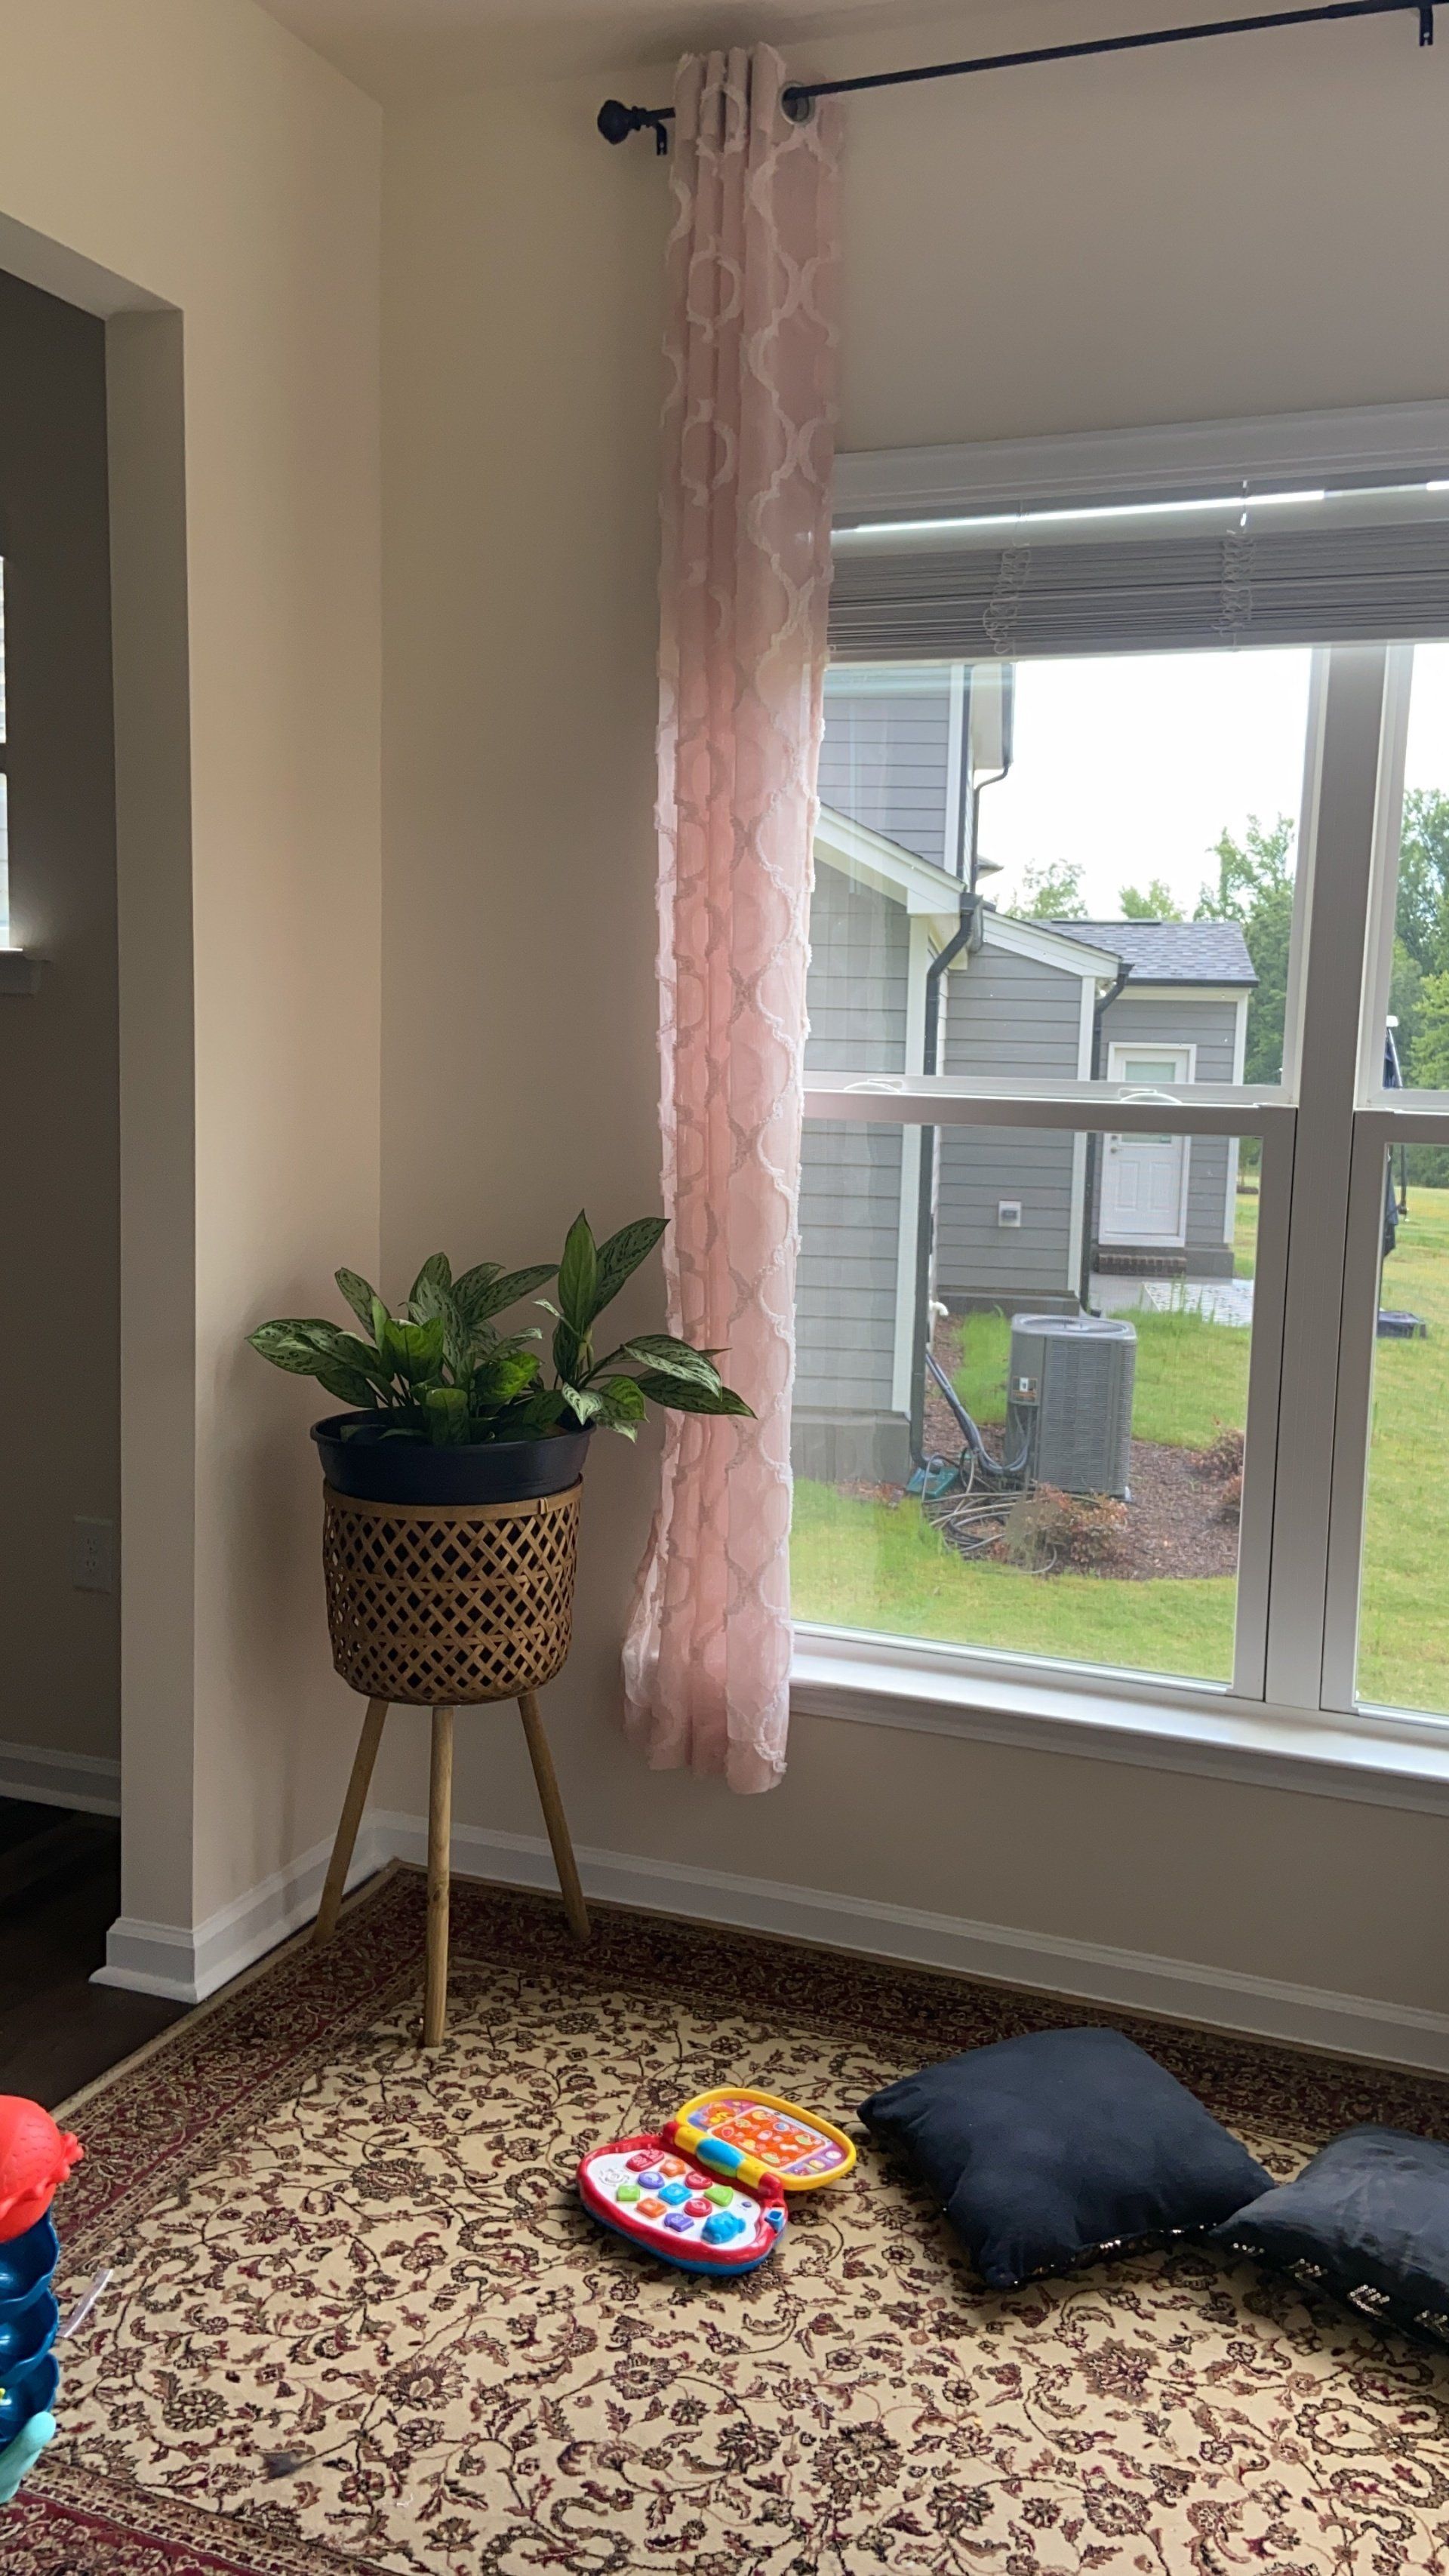
Below are some BEFORE images of the Sunroom :
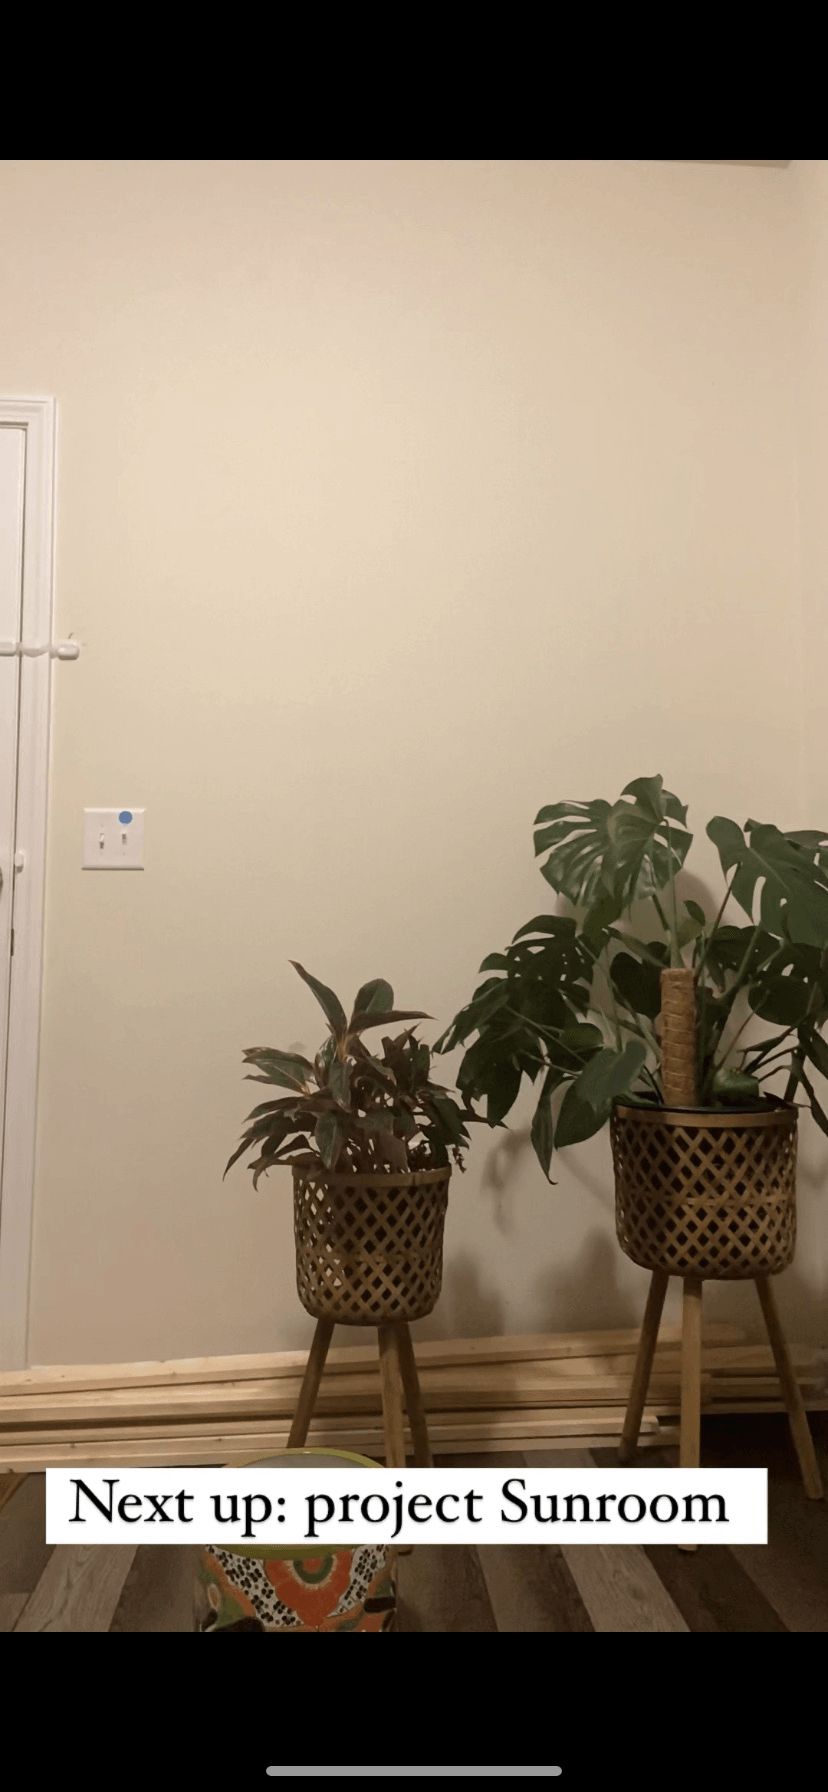
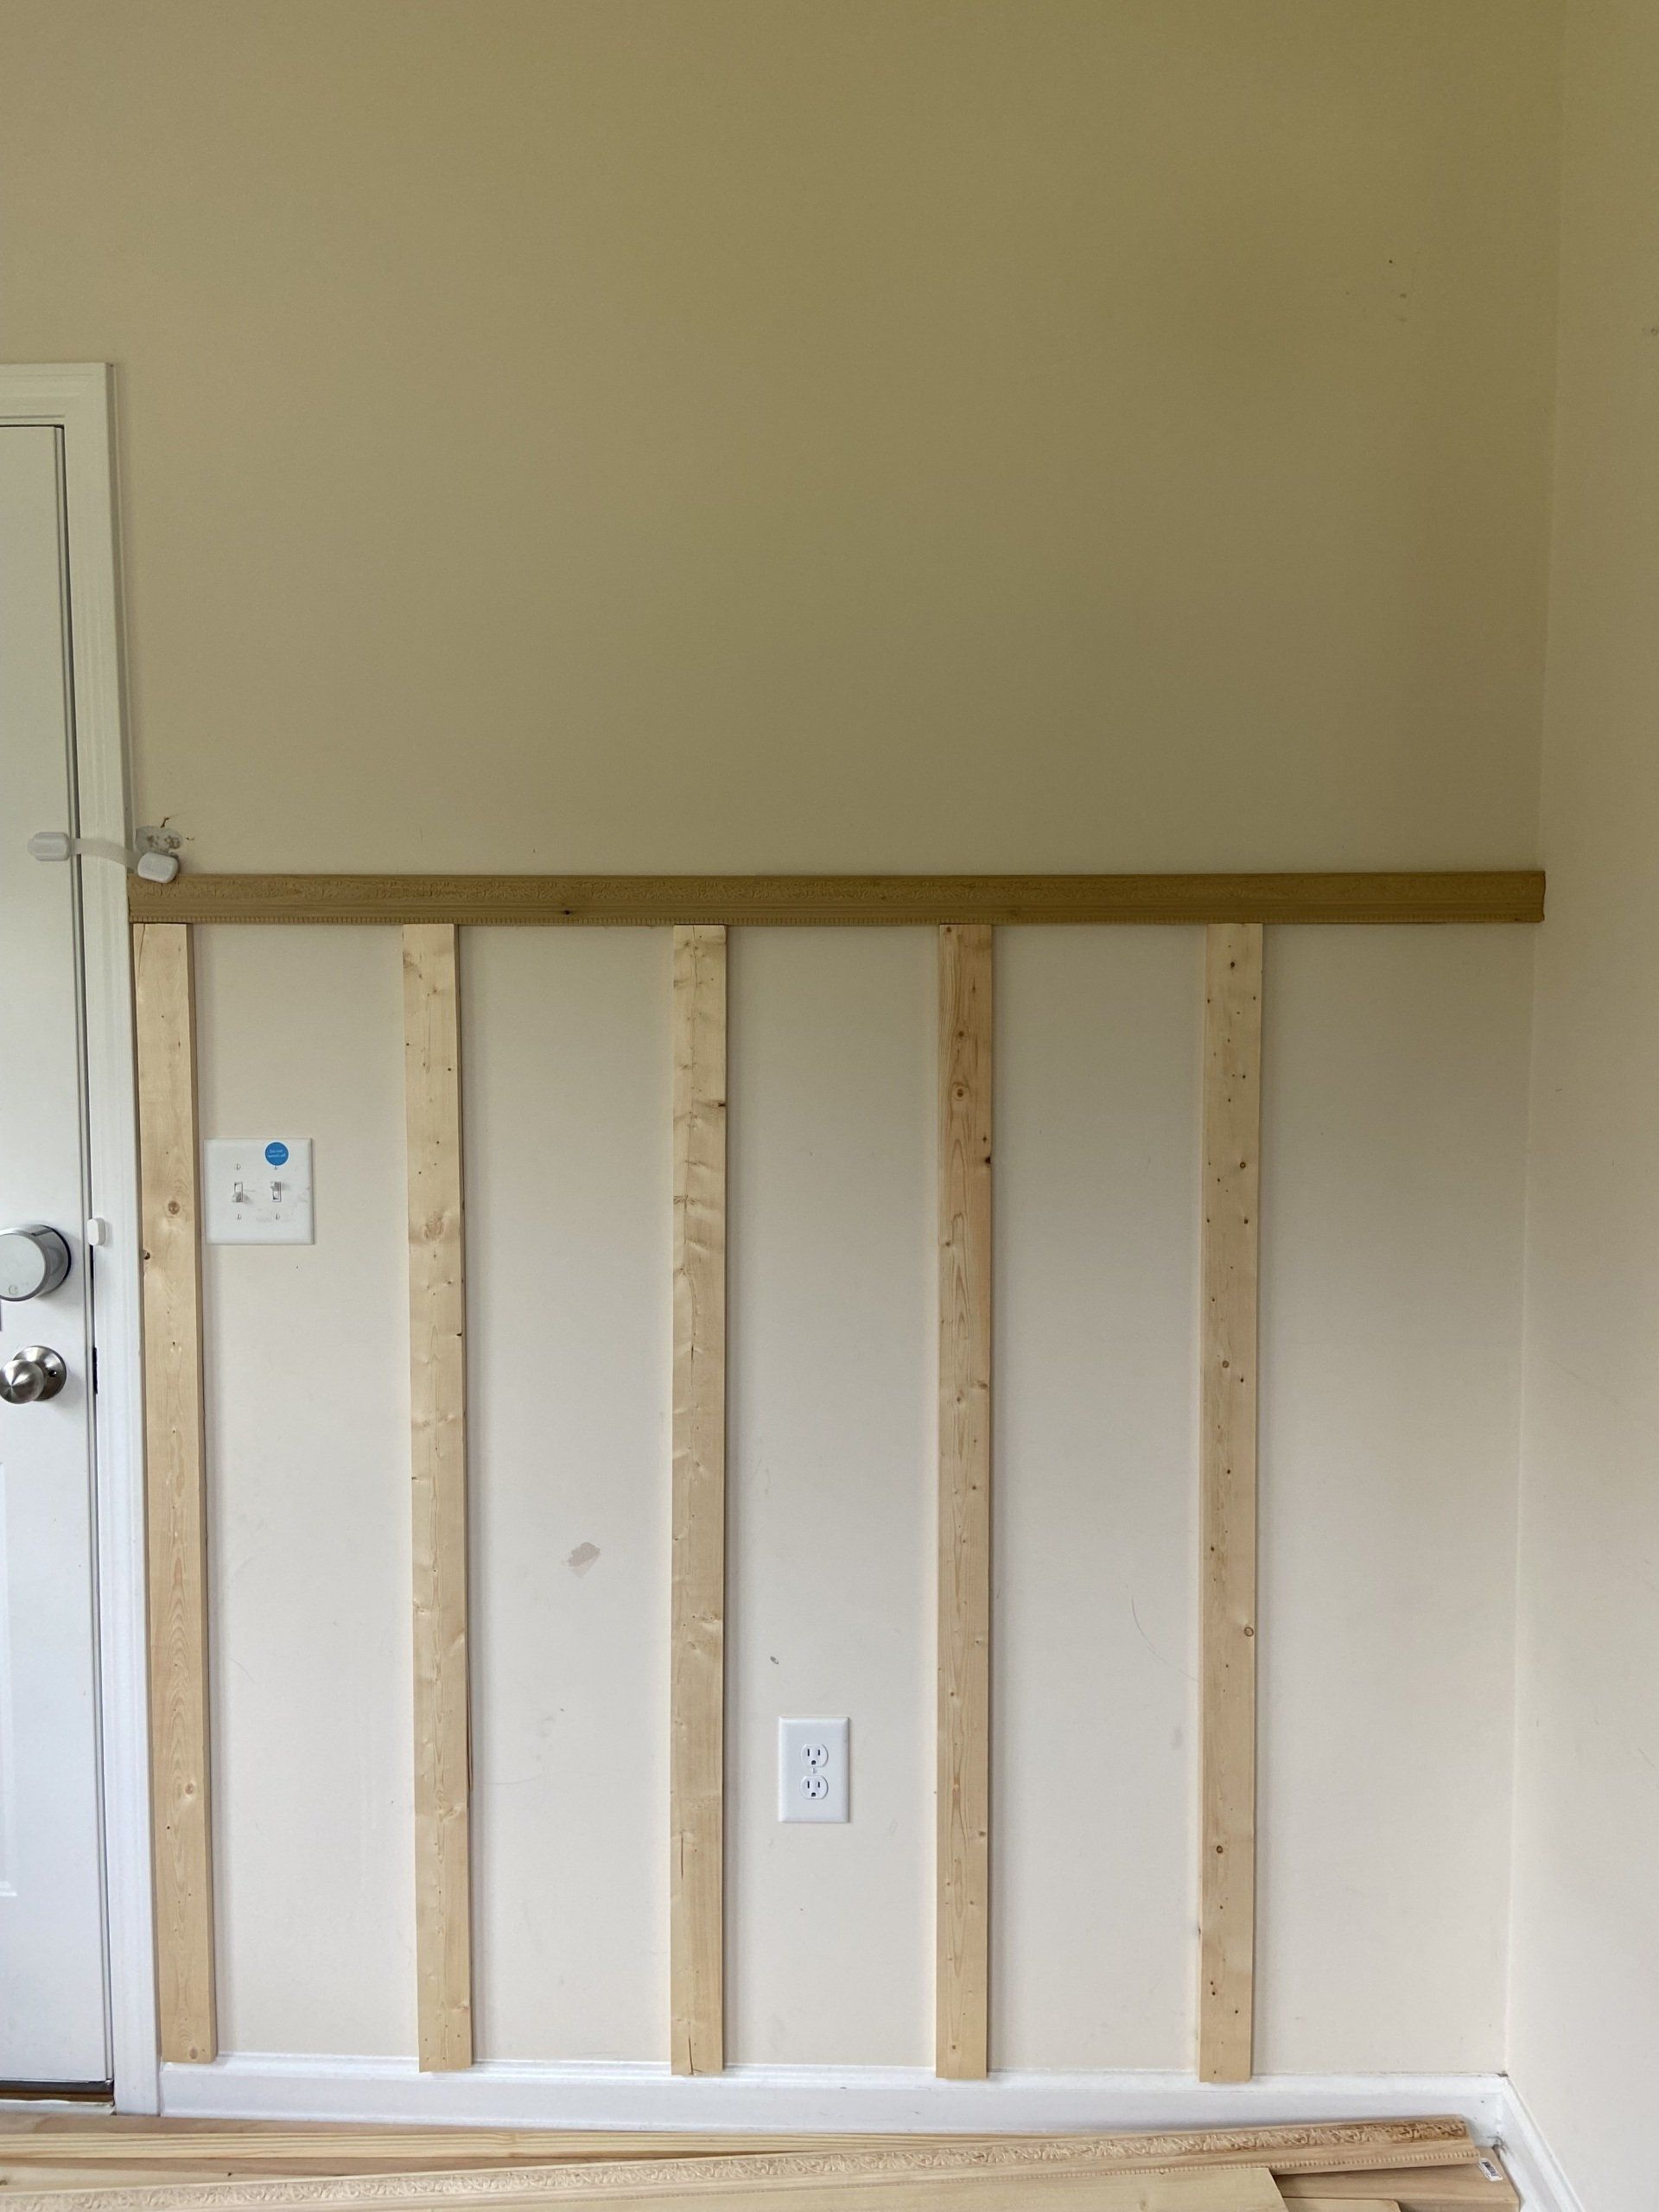
Let's first get started with measuring the walls and deciding the distance of the boards from each other.
I first measured the wall and decided what height I wanted the board and batten to be. My ceiling height is 9 feet so I kept the board height to be : 5 feet board + 4" trim + 3" baseboard. I then marked it all out and mapped the space from 2 extreme edges and decided what distance I wanted the boards to be from each other.
I then ordered common board on home depot : 1 in. x 3 in. x 8 ft. Premium Kiln-Dried Square Edge Whitewood Common Board
Tip : When you order common board, make sure you go ins tore and pick the straight ones personally. I ordered them online and got really wonky ones.
I cut the common board using my miter saw to the required height. Started nailing them to the wall with a brad nail gun. For the distance between 2 boards, I cut a scrap wood for the space and used it for the rest of the boards instead of re-measuring everytime.
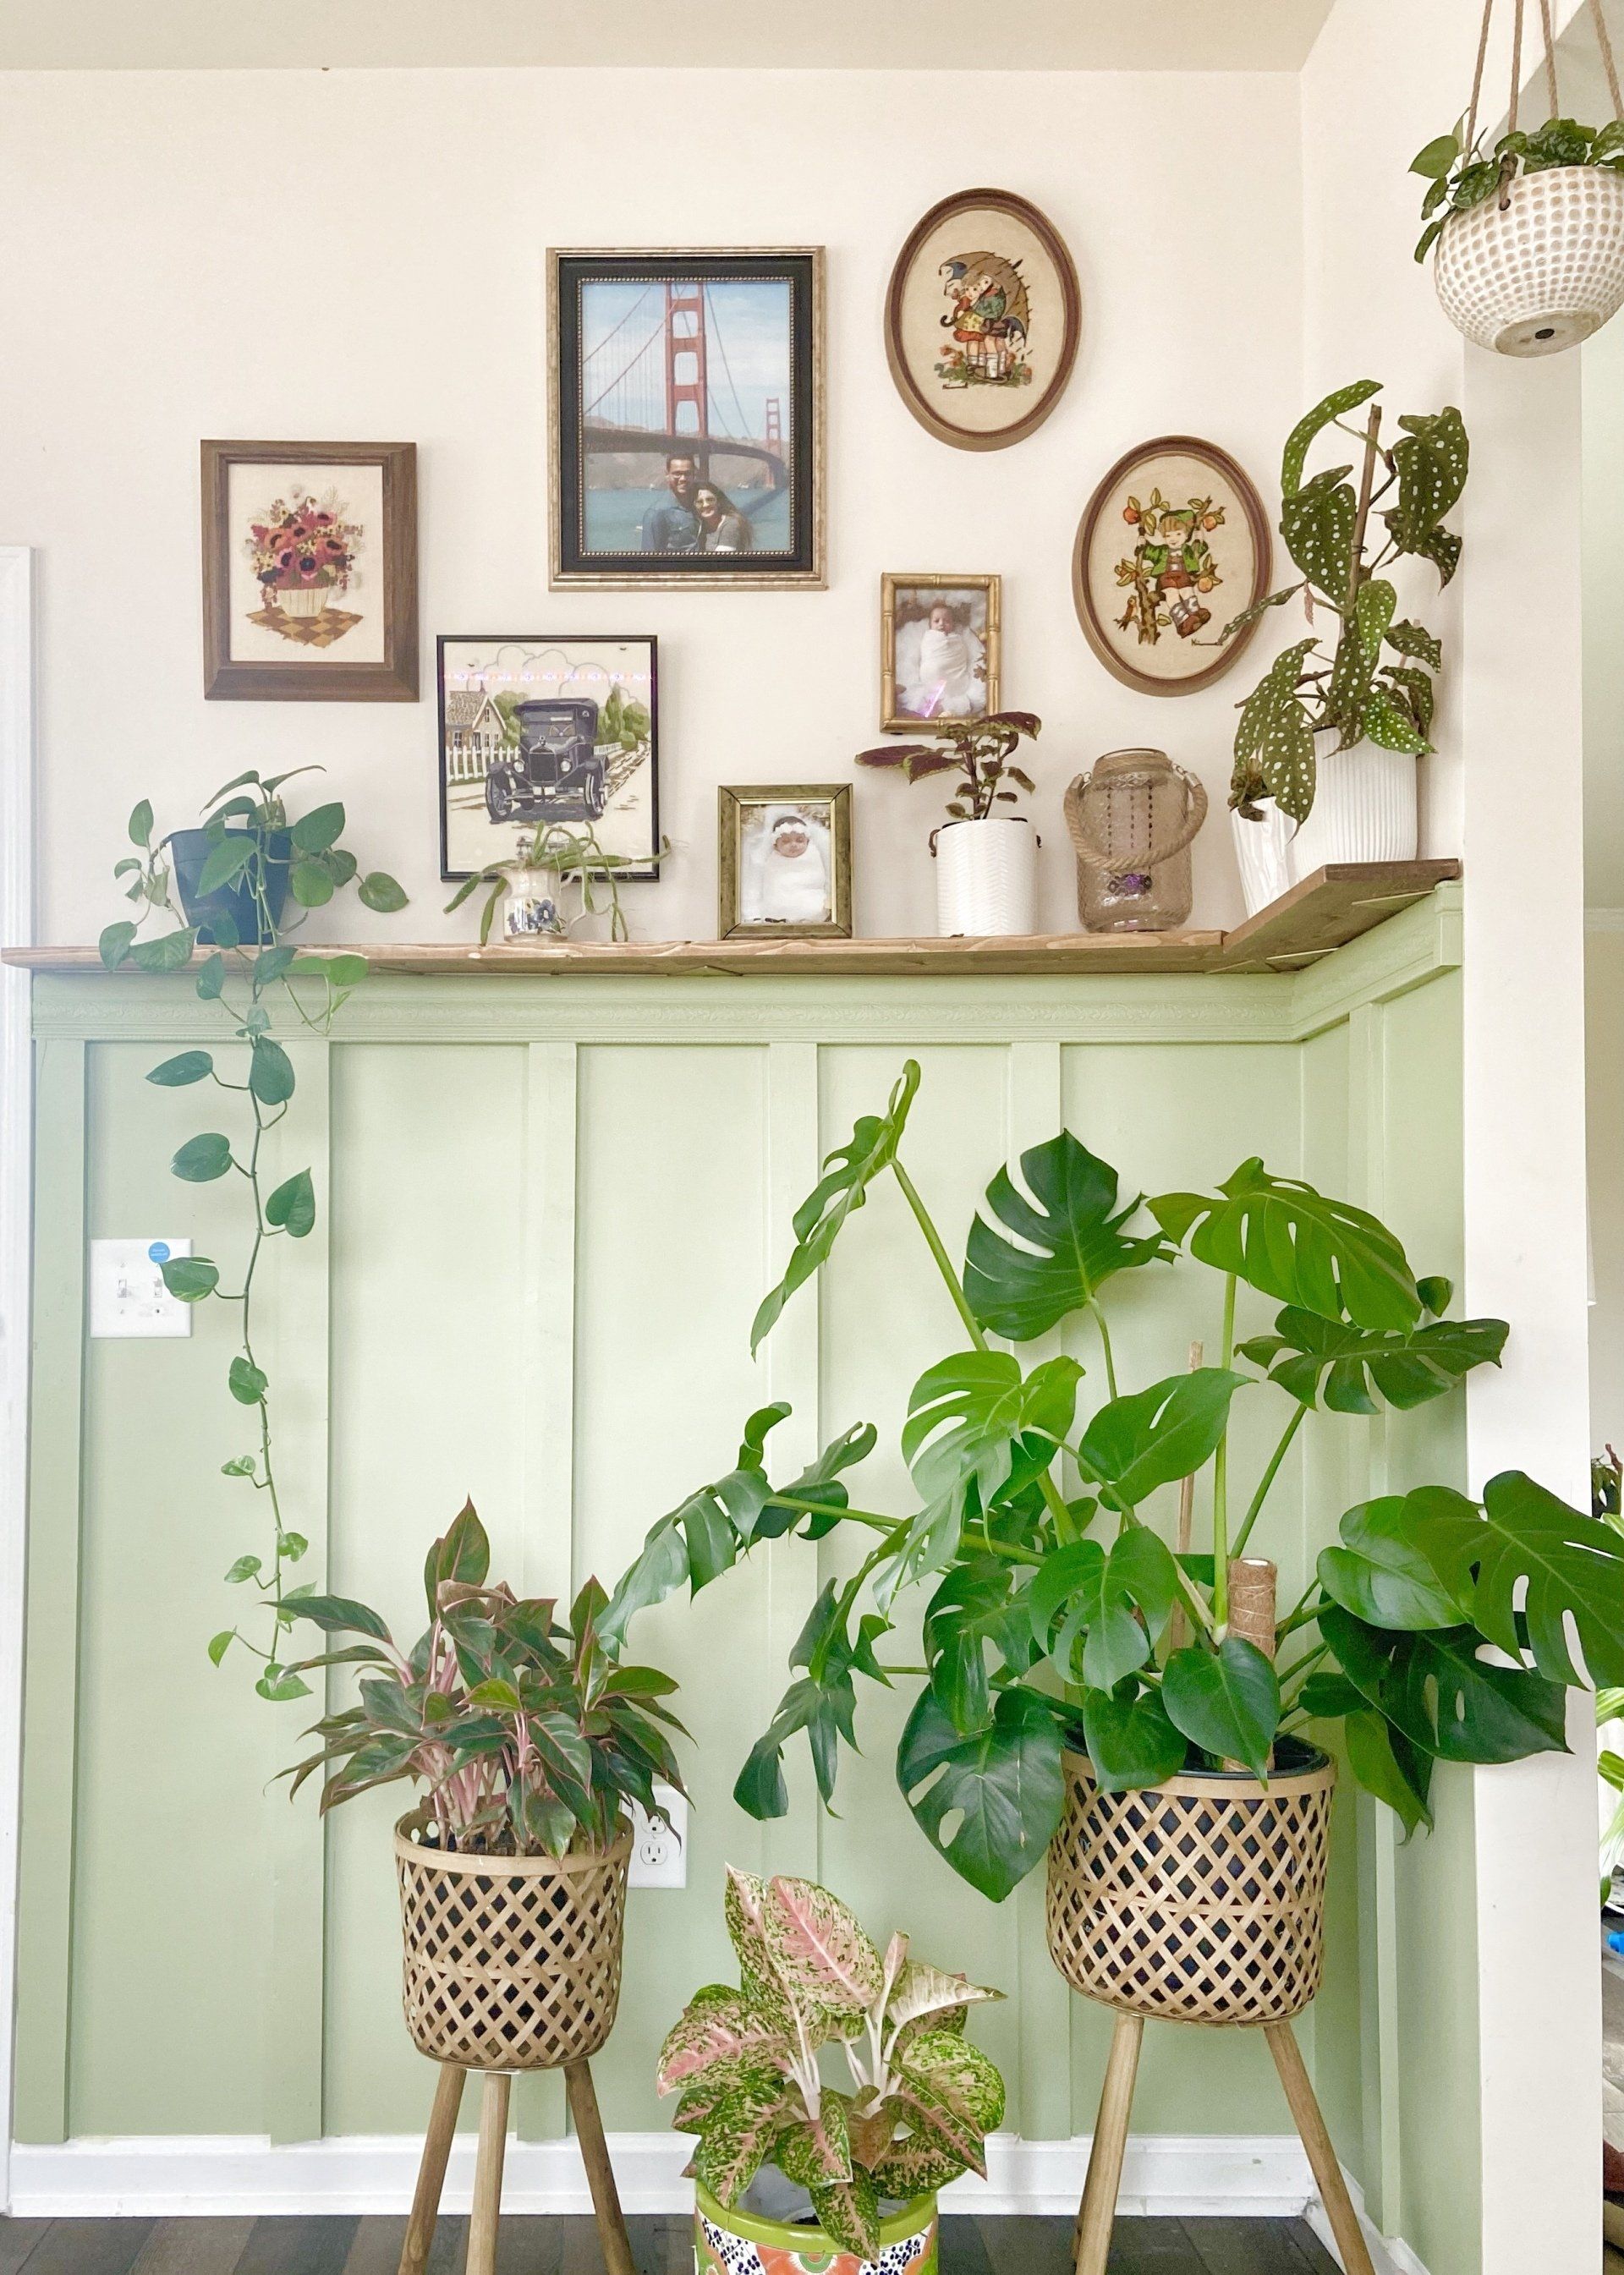
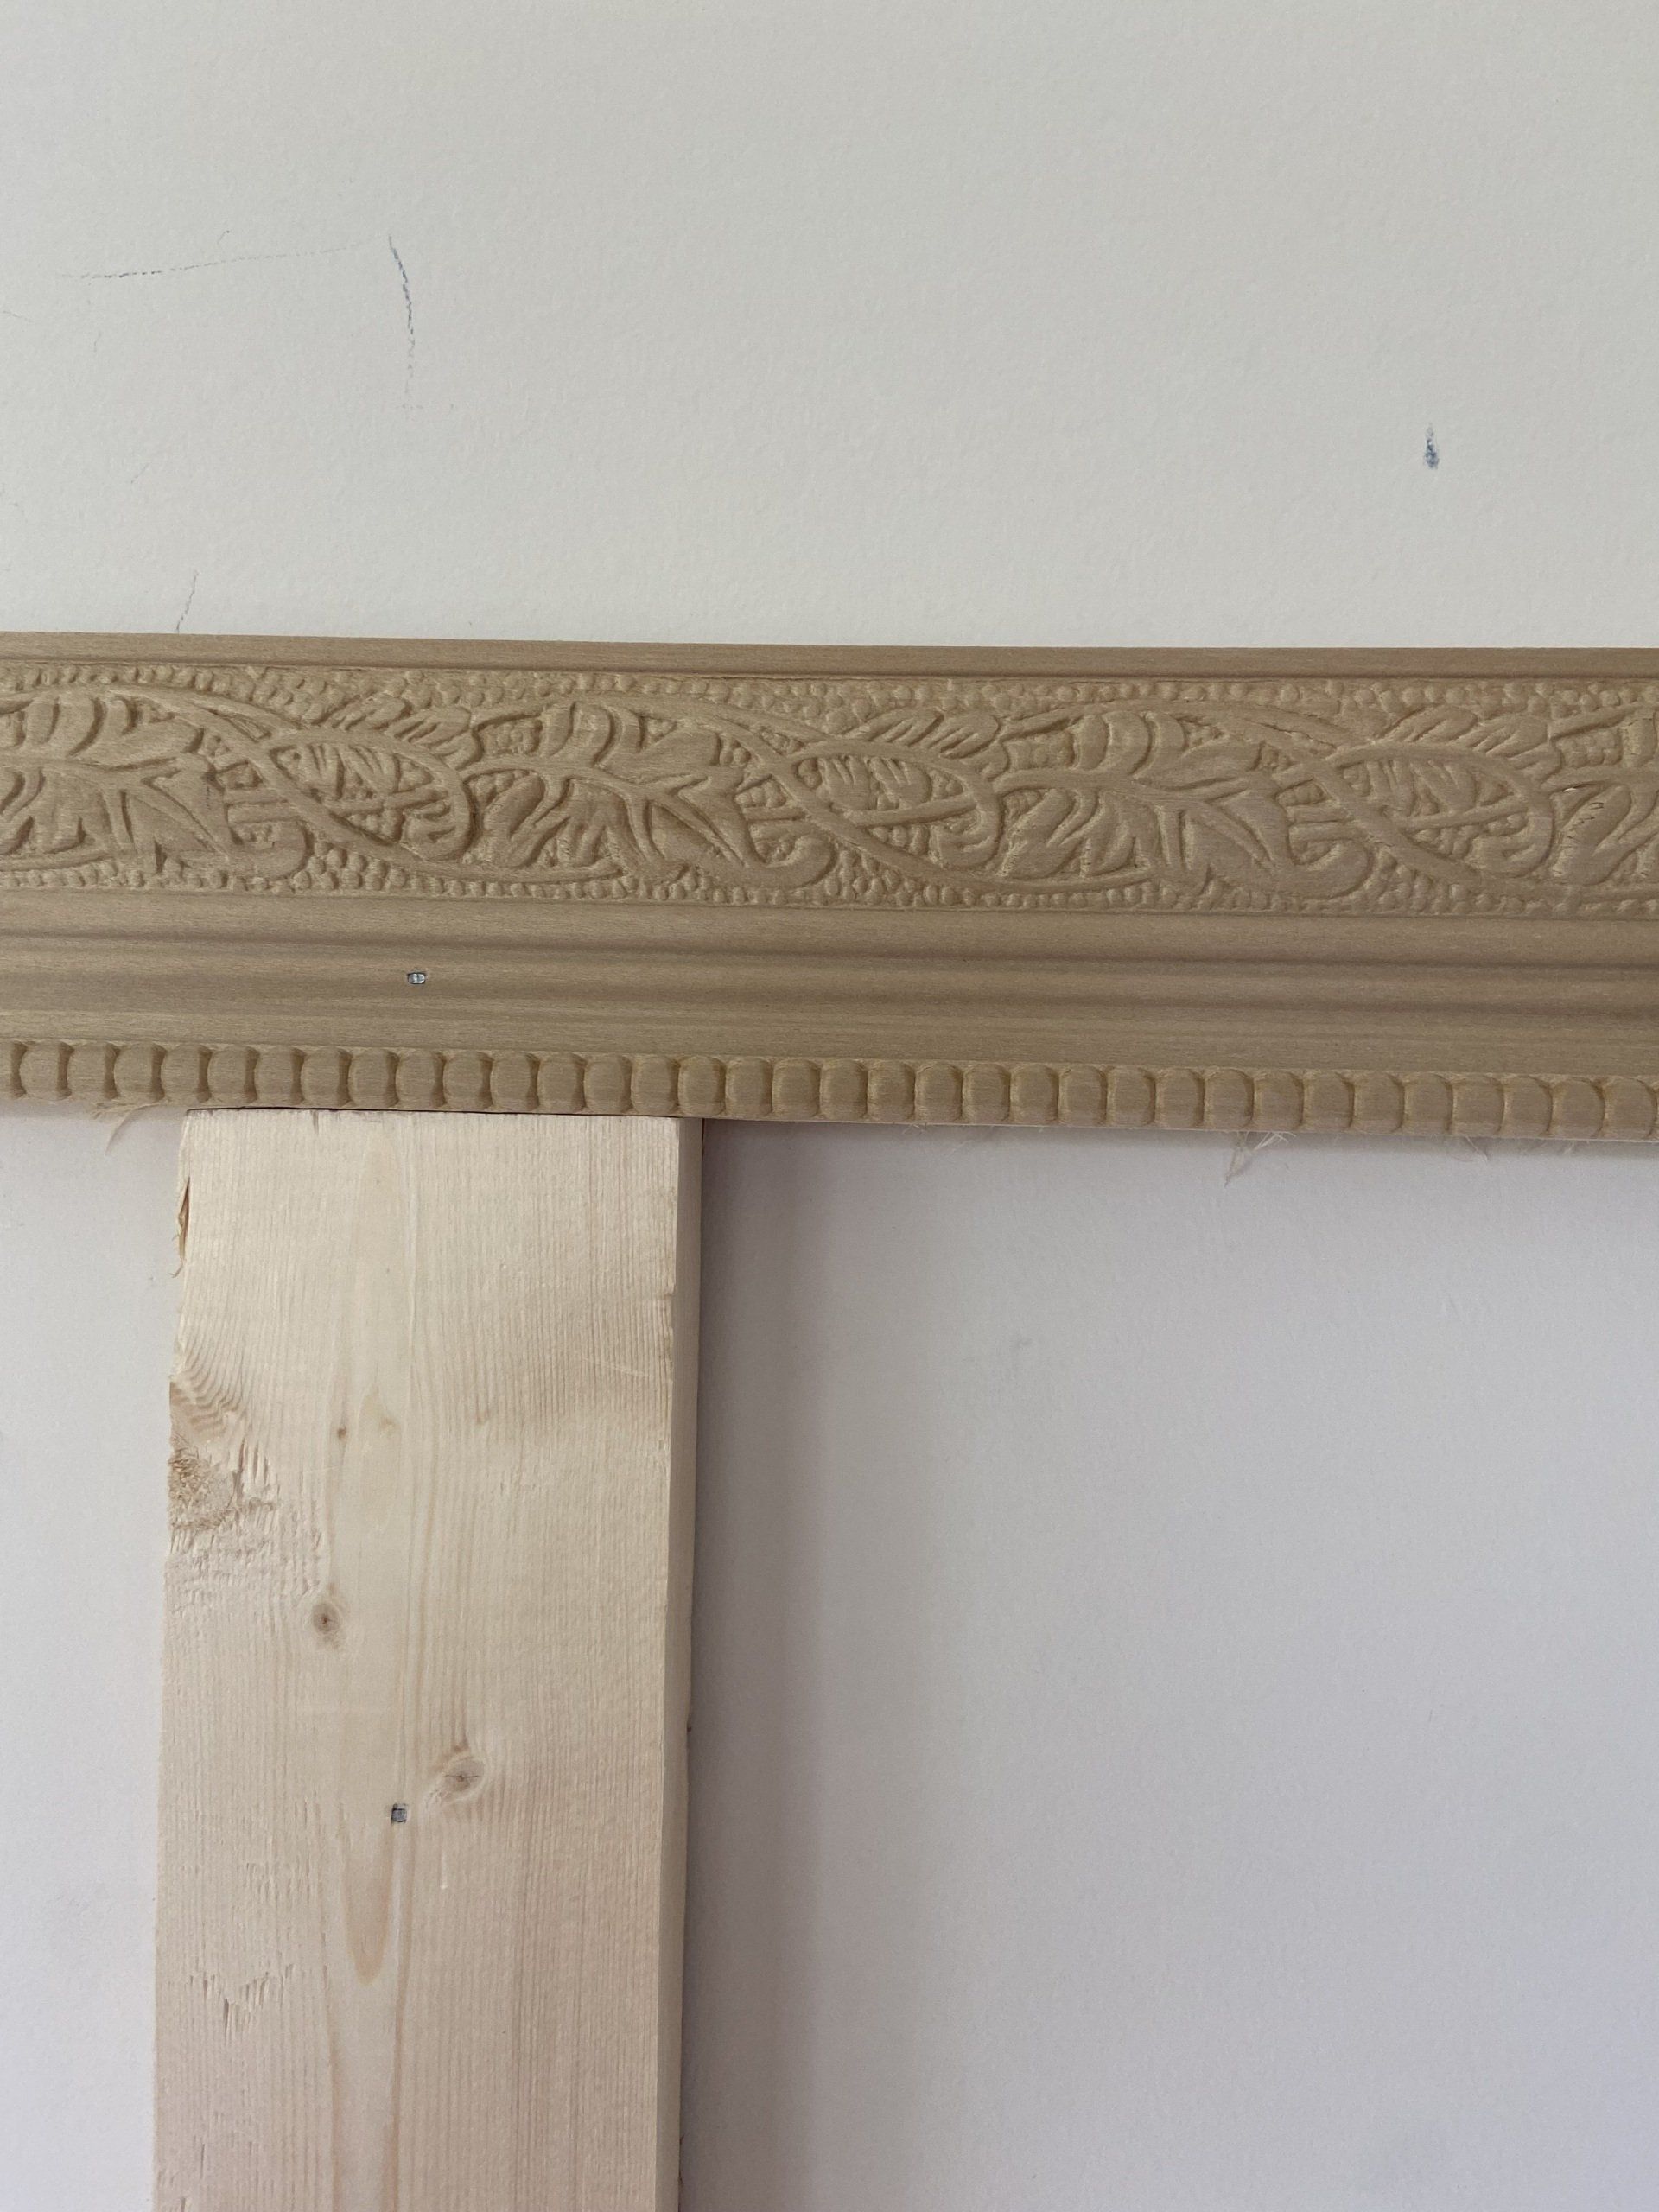
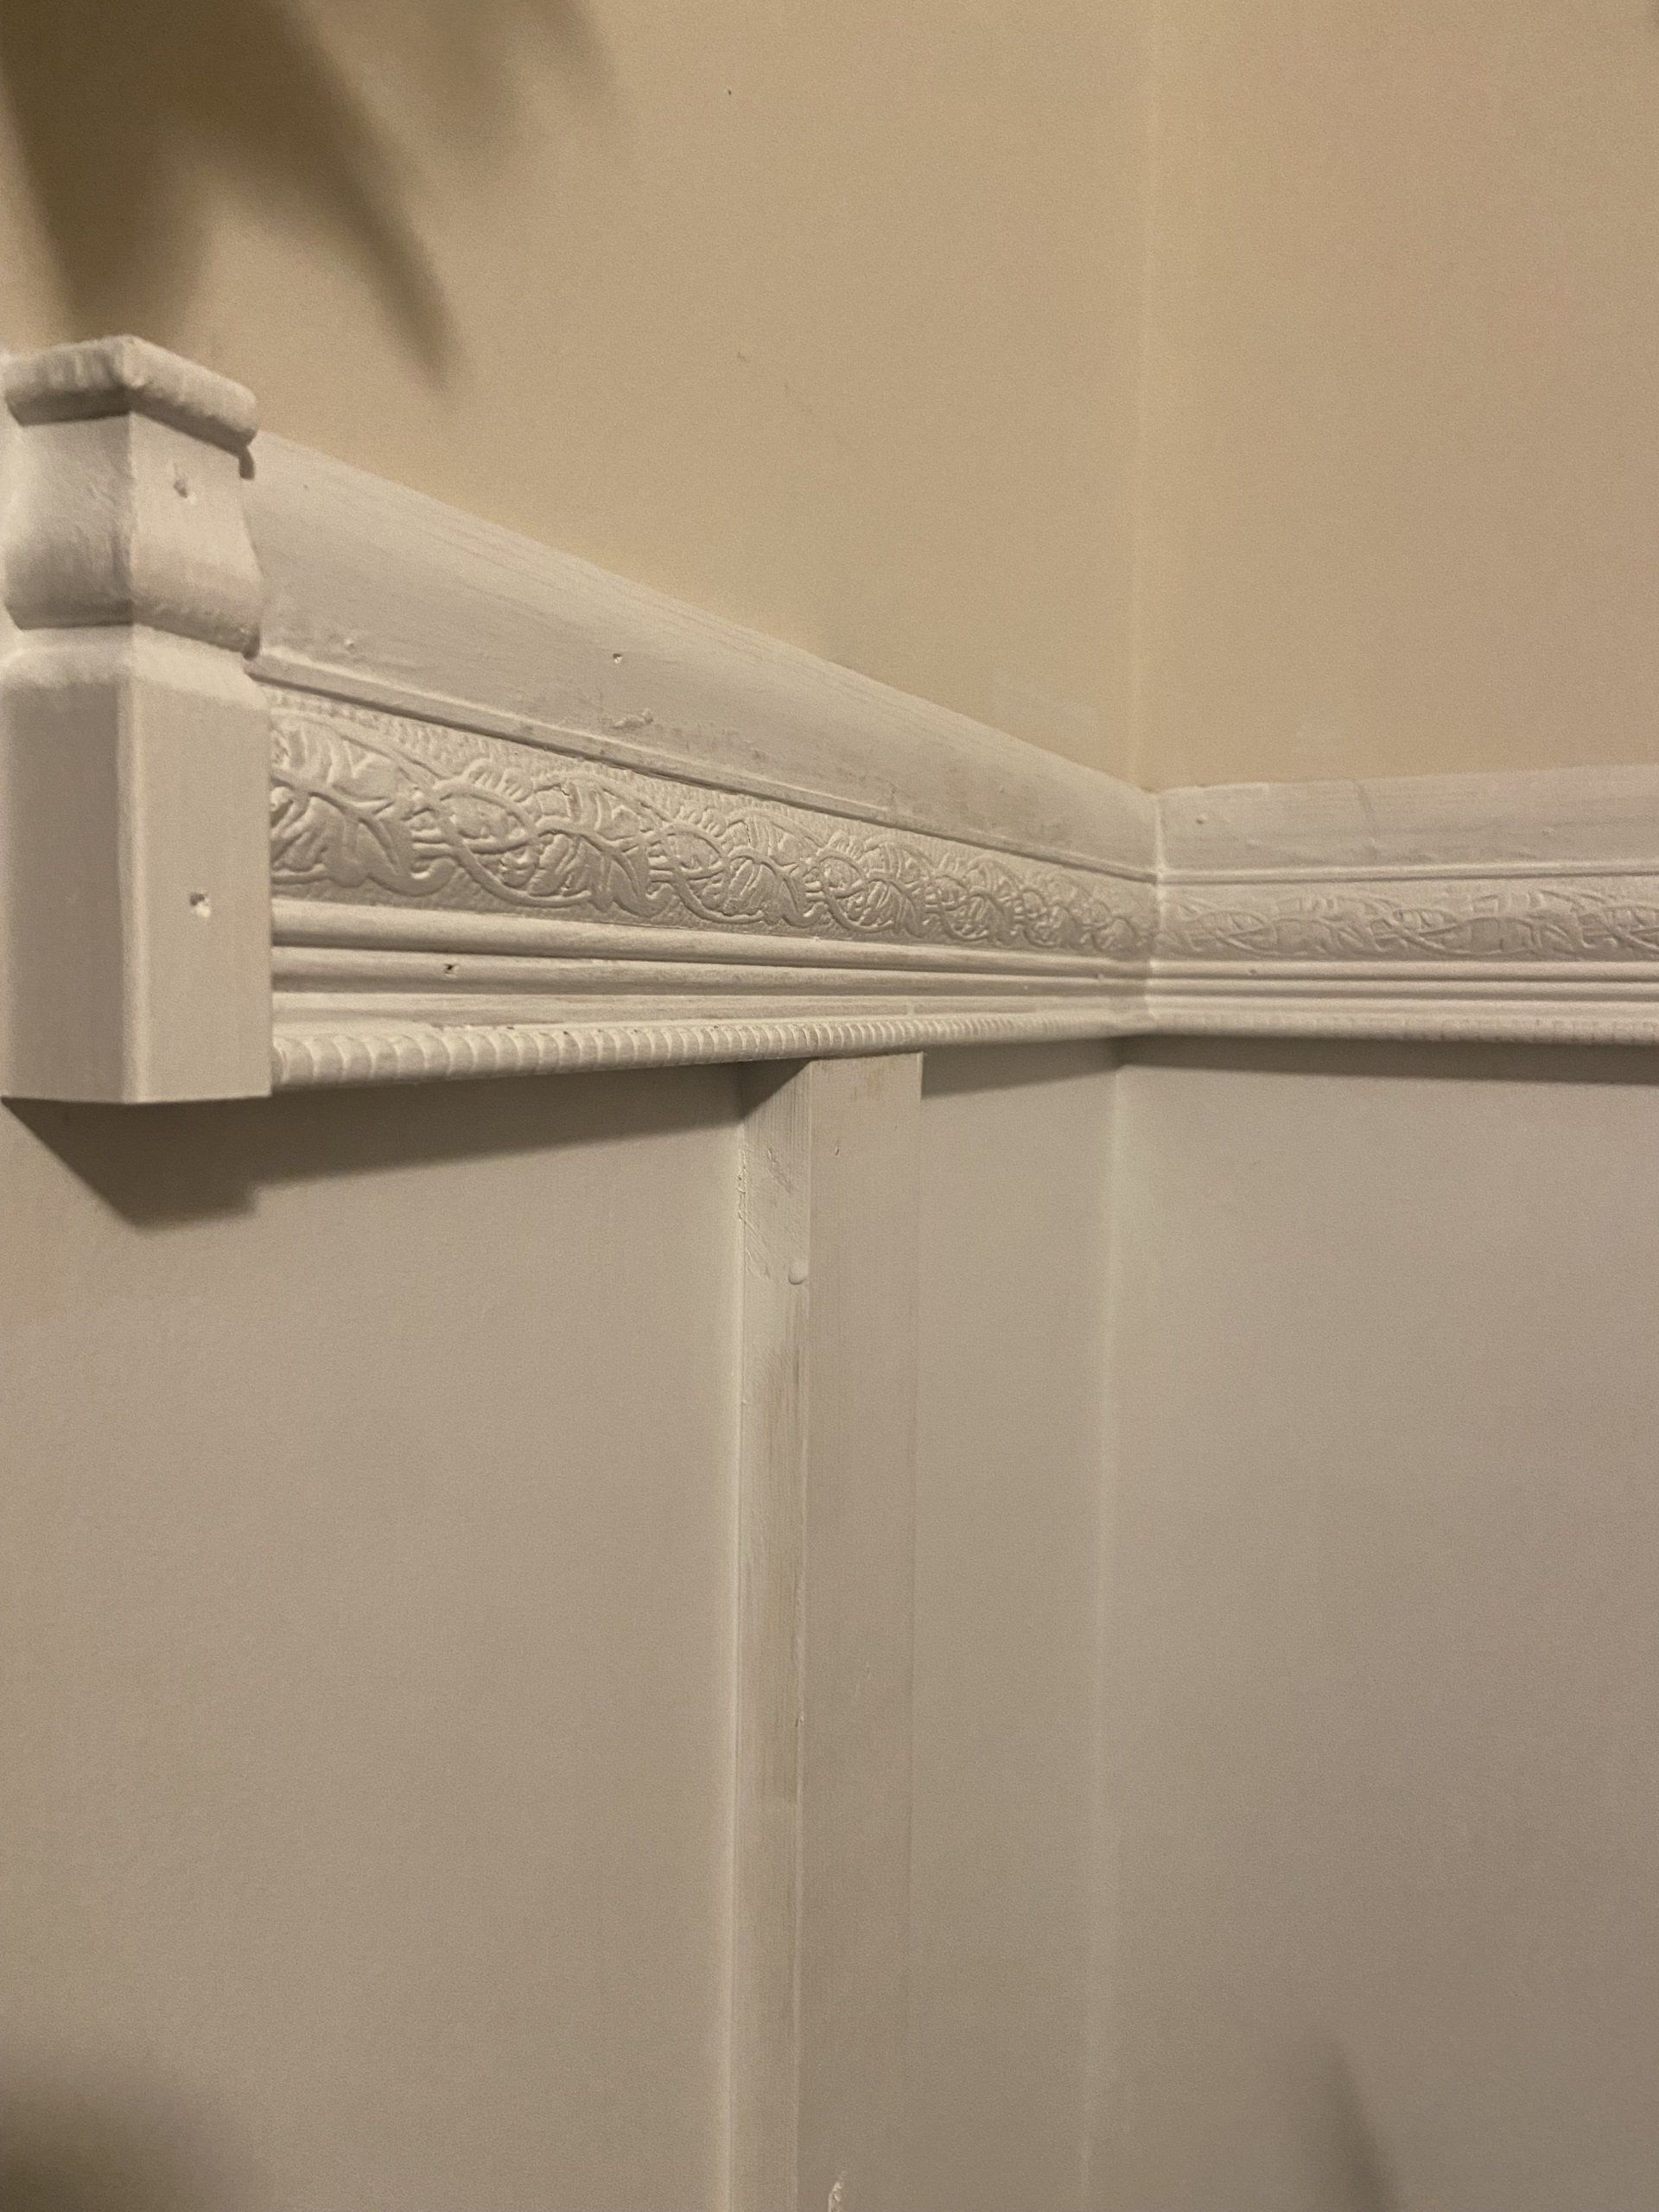
For the horizontal trim I decided to choose a carved trim to bring in the boho indian vibes. I try to incorporate a little bit of India in my house in any way I can. Trim SIze : 2-1/4-in : Lowes Ornamental Moulding . I wanted a wider 4" horizontal trim section so I added another trim of 11/16-in to add to the height : Lowes 11/16 in trim.
I had to add scrap wood as backing to this as the common board depth and the trim depth was not the same. trim was 1/2 inch in depth and the common board was 1 ' so I added a backing of scrap wood to make the trim depth 1 inch. Finished with adding
Corner Moulding Block to give it a nice and finished look. See picture below :

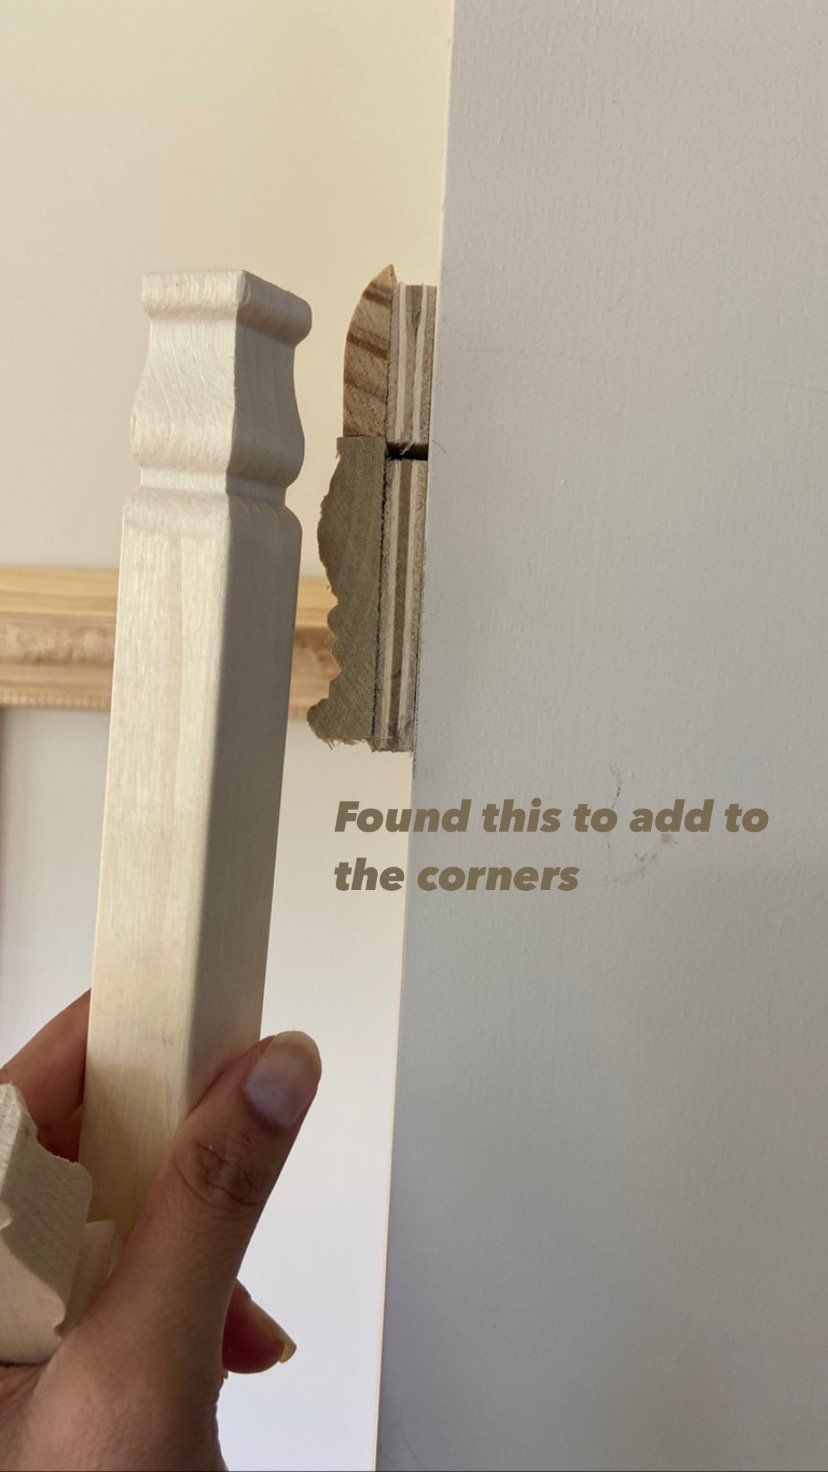
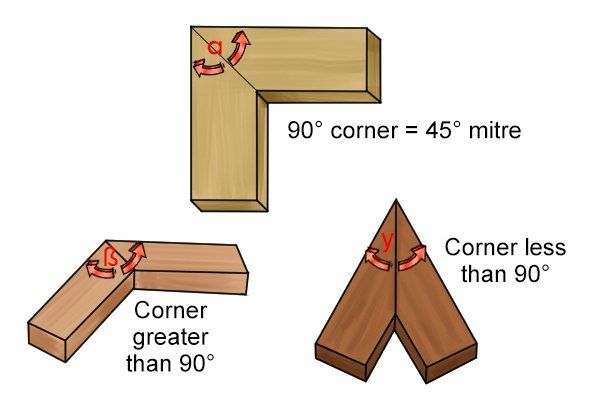
How do we cut the outer and the inner corners to join ?
You can use a Miter Saw or a Miter box and you need to cut 45 degree angles to join the wood inwards or outwards. This picture is from - Home Made Furniture website They have explained miter joints very well.
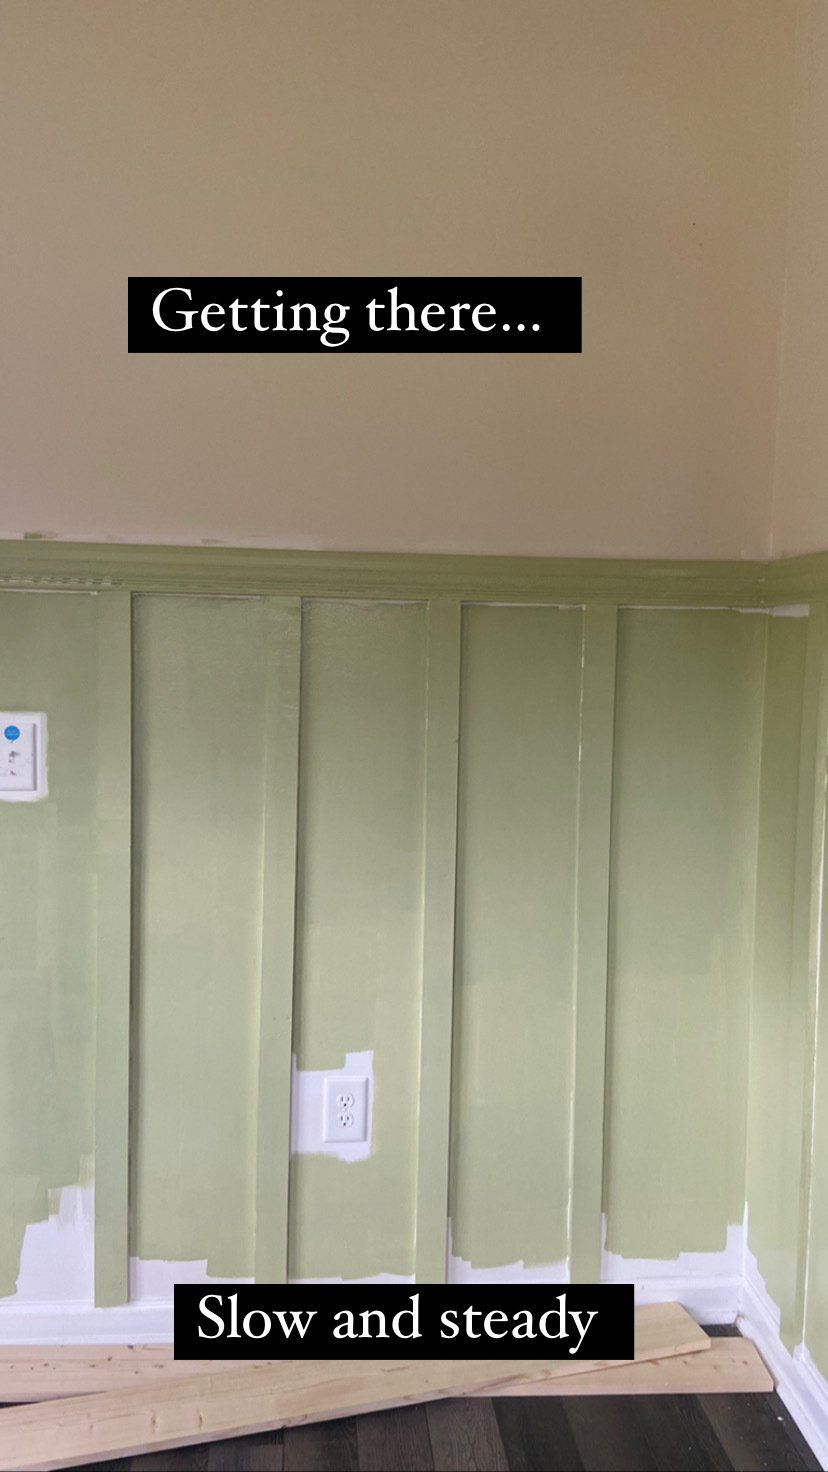
Next Phase is caulking, filling holes, priming and painting. Make sure you use a paintable caulk so that you don't have issues while painting. I have listed some below :
- Primer paint
- Sherwin Williams Garden Spot 25% Strength
- Wood Filler
- Paintable Caulk
If you dont know how to caulk, go ahead and check out my stories bubble "Sunroom" on Instagram. That has all the details : Upcycled Brain
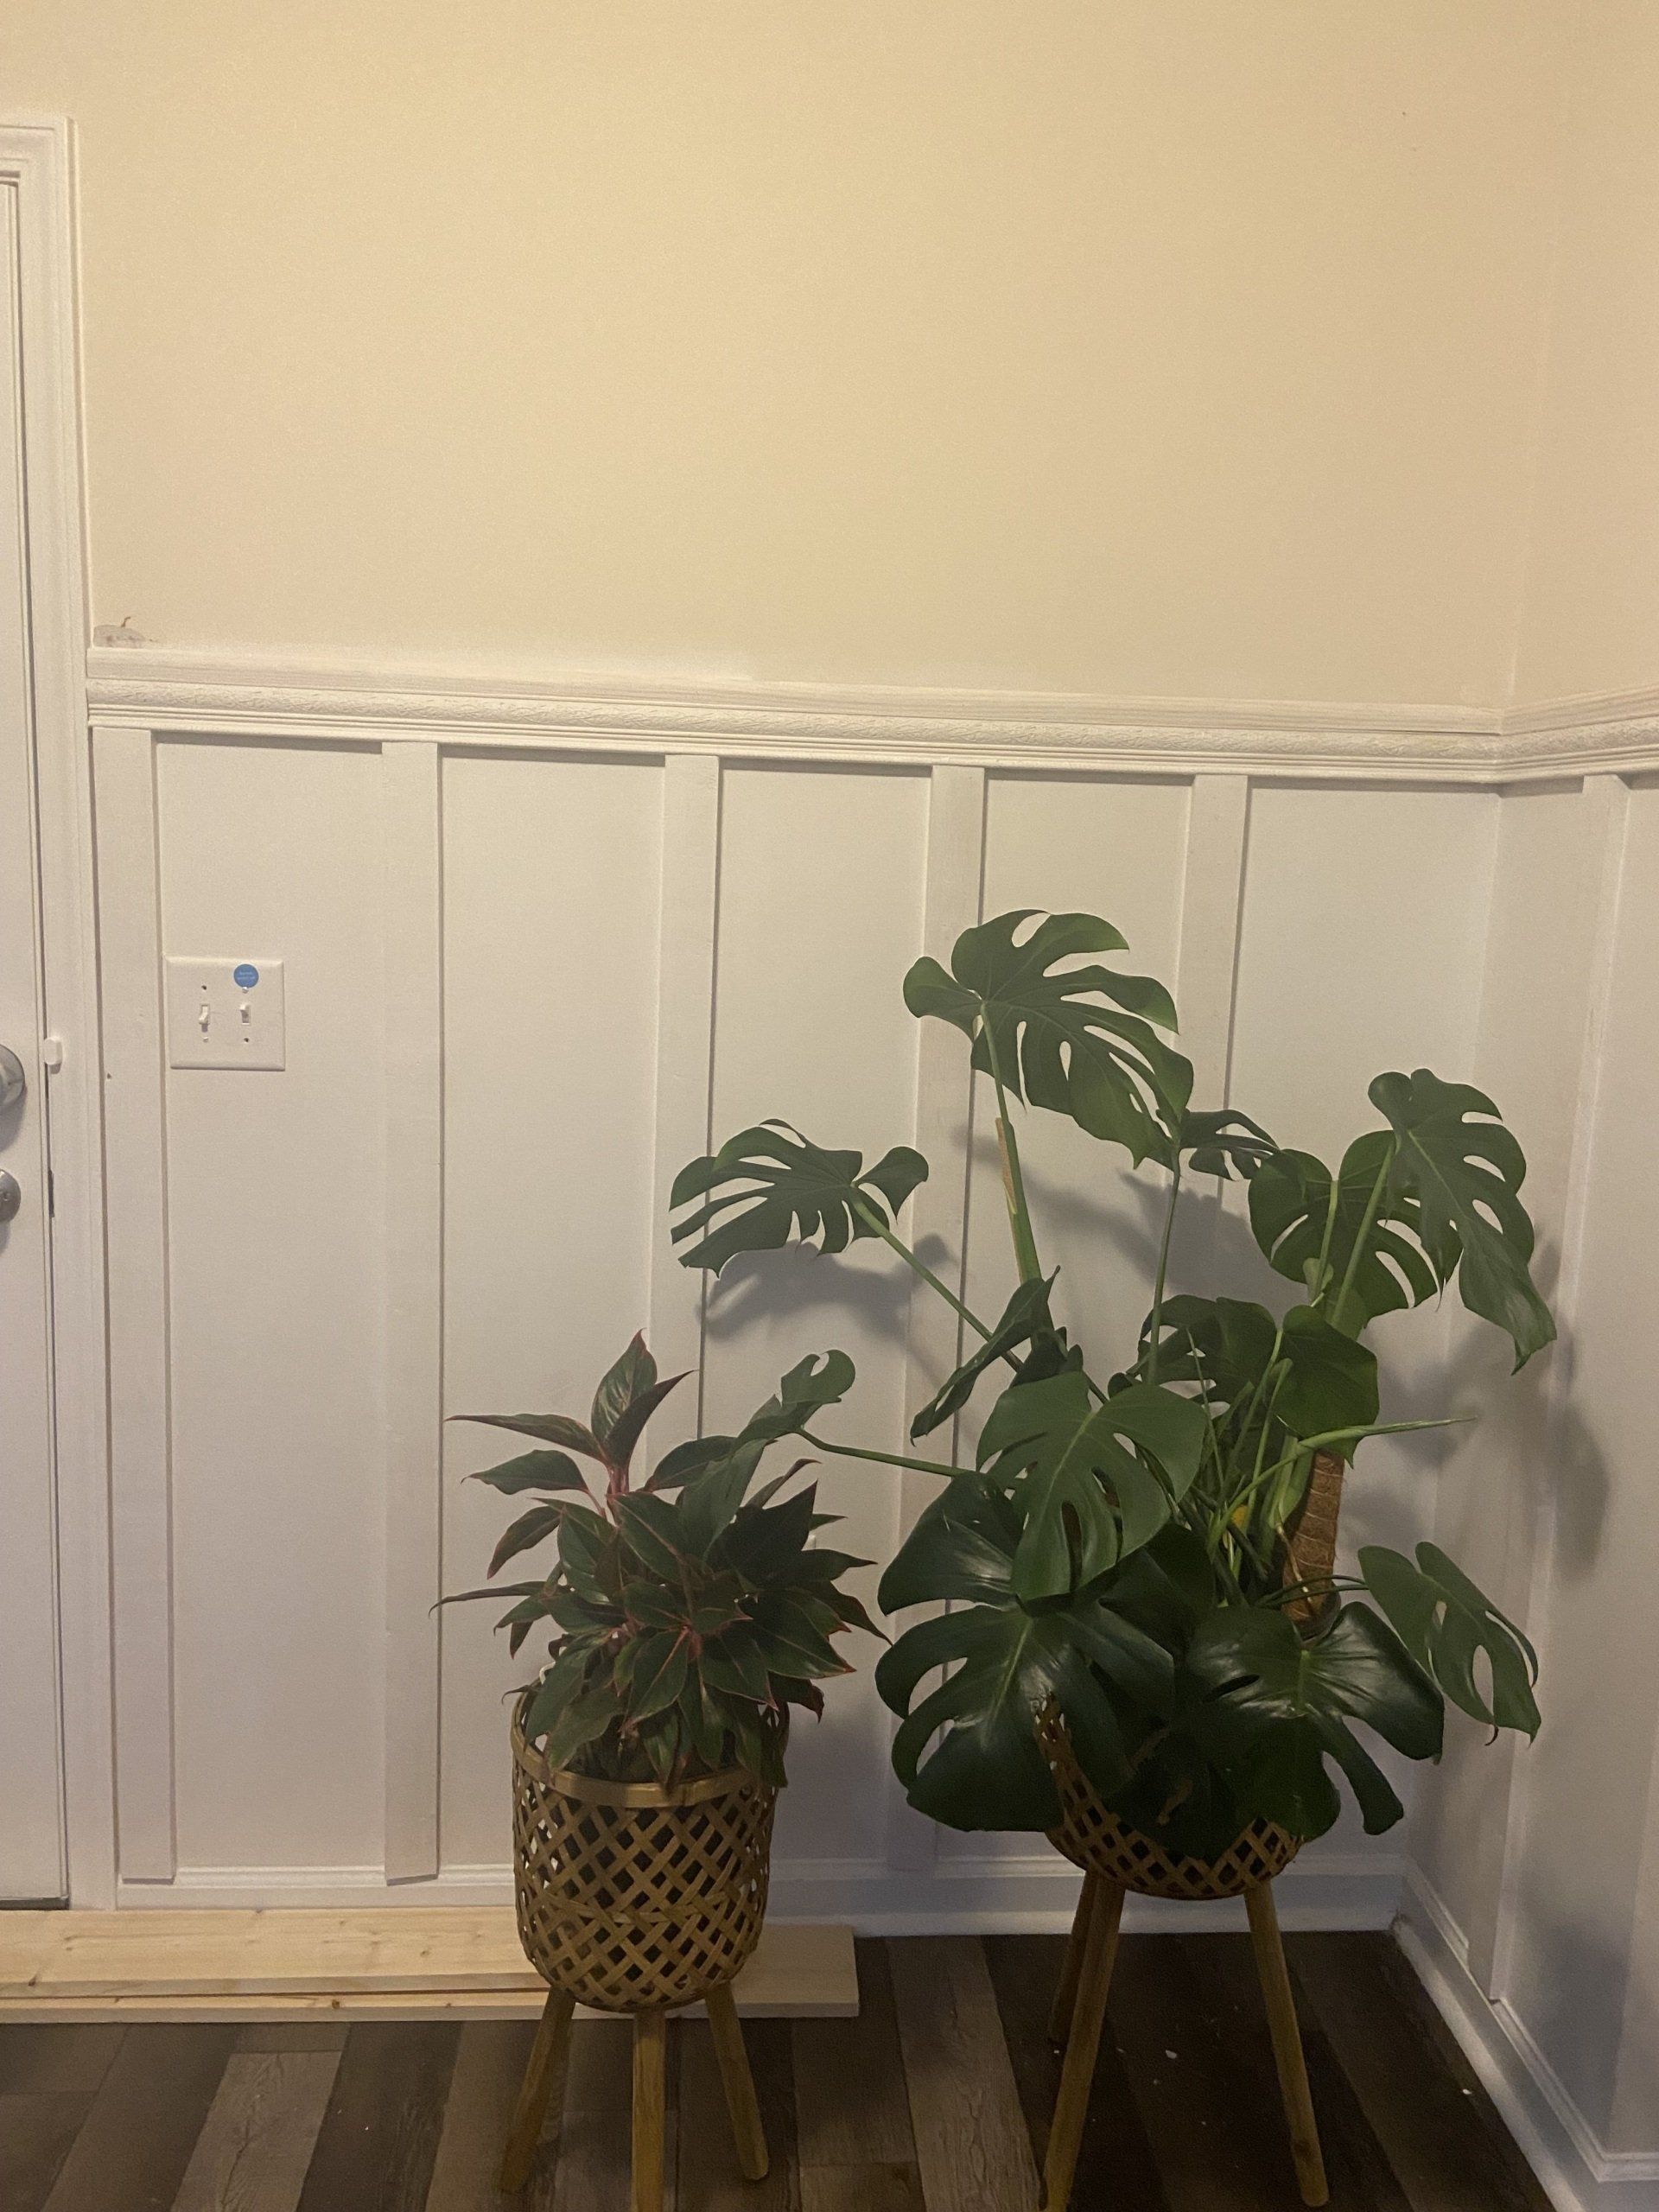
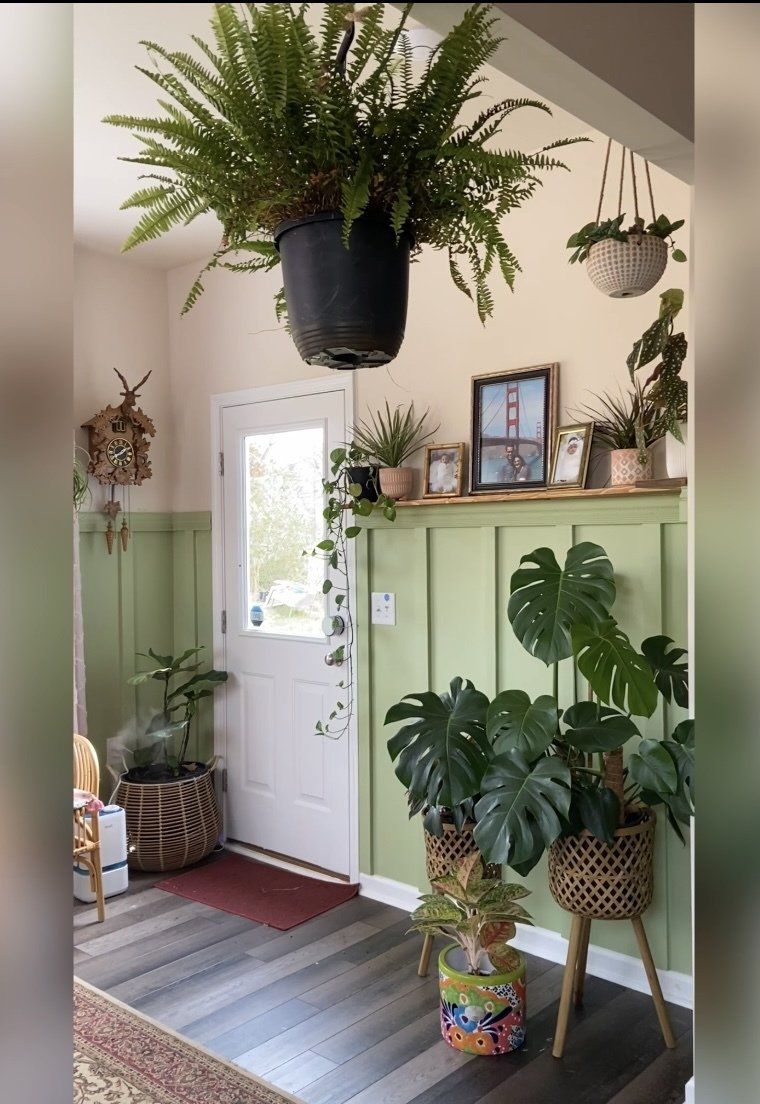
I also added shelves to keep pots and decorative items. I used 1 X 6 boards, did miter cuts of 45 degree angle and joined them. Used these 3" brackets from Amazon on the base to hold the shelf : Book Shelves . I did not want to paint the shelves so I added teh walnut finish varnish to it and Voila!!! My Boho Sunroom is ready!
Check out the video on Youtube. Like, subscribe and share. Enjoy building!!