How to Wallpaper

February 6, 2024

How to foolproof wallpaper - A beginner's DIY guide

Wallpaper makes for a great DIY project. It can sound and feel intimidating but with some patience and attention to detail, you can tackle this DIY like a pro!

Wallpaper is a great way to add texture and character to your space without much effort. Which is why it is widely used to refresh homes under a budget. Unlike big renovations, wallpaper does not take months, its relatively faster, easy and mess free and it can transform the look and feel of a space for just a couple hundred dollars.


If you are completely new to this DIY project, try attempting a small space like the back of a closet, a bedroom wall or inside areas of a trim.

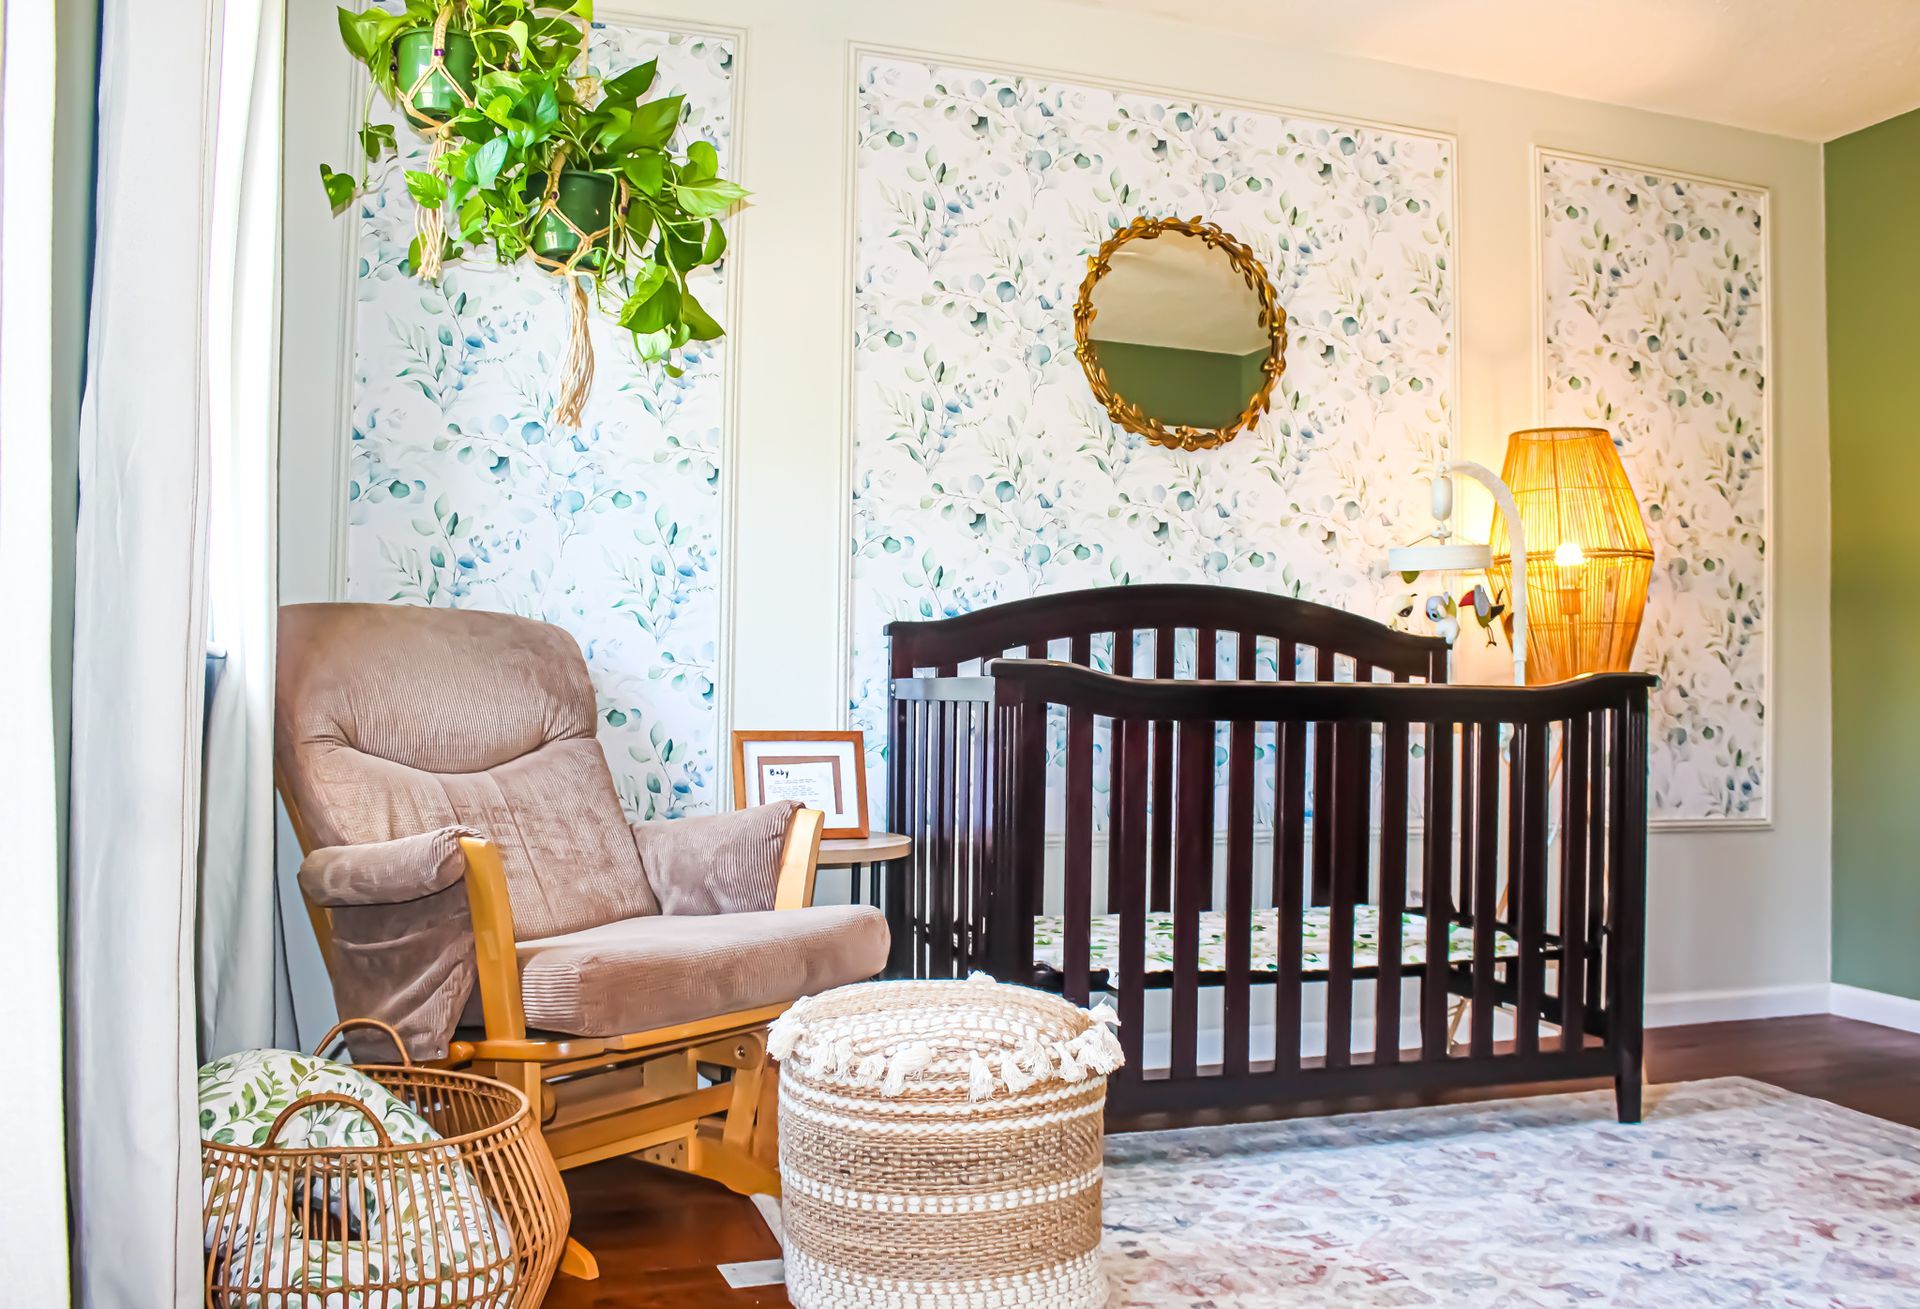
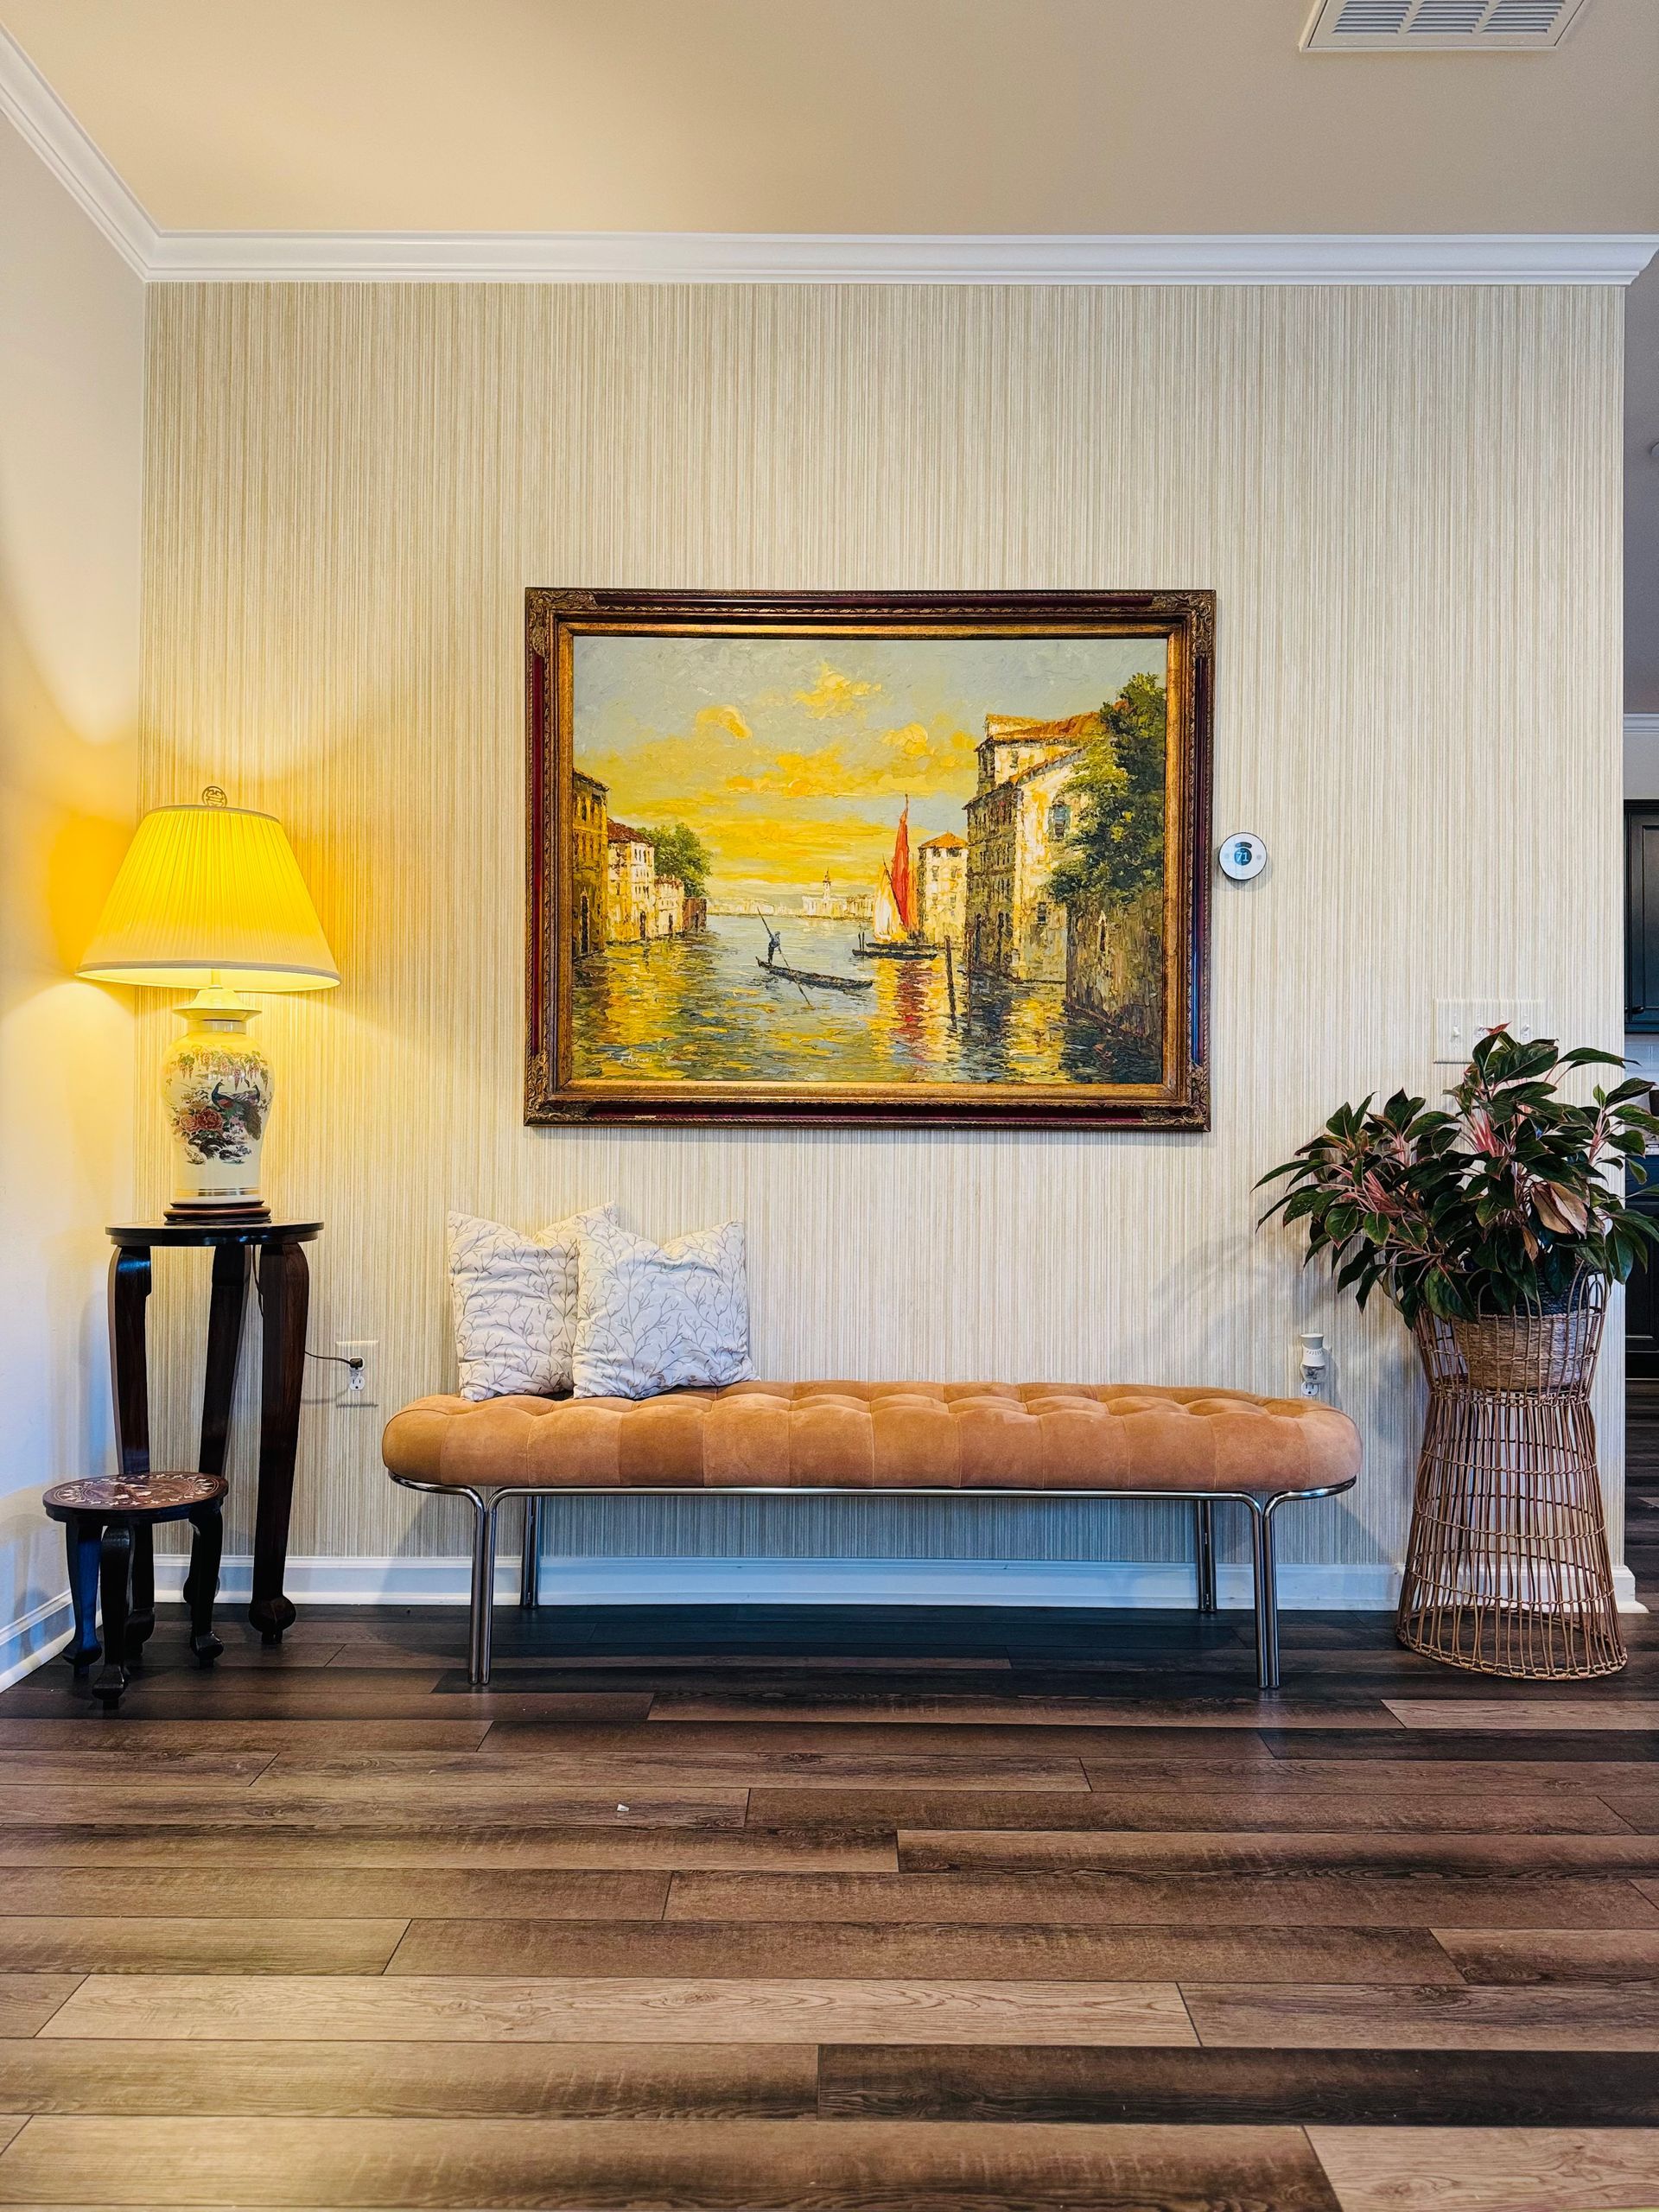
Here are some of the wallpapers I have used in my house - Link to Wallpapers and Tools


Also check out the stories bubble to see  videos on application process behind the scenes, click on the link - Videos on how I did my wallpaper.


List of tools and materials:


Amazon storefront - All items under one roof


1. Prep the walls

Scrape the walls with a drywall knife or sand them with 50-grit sandpaper to remove smaller imperfections and fill any holes with a nonshrinking joint compound so you don’t have to wait until it dries and apply another layer. Remove all light switch and outlet faceplates, heat registers and light fixtures. Never hang wallpaper over unfinished drywall.


Before hanging the wallpaper, you can choose to add a coat of wallpaper primer (also called sizing), which is an acrylic-based liquid that helps make your paper stick more easily and also makes the removal process go more smoothly. I don’t do this for my peel and stick wallpapers, this step is optional.


Cut and size the wallpaper. Always check the length and width of a wallpaper before you order it. When measuring a room, you need to keep in mind the pattern of the paper. Sometimes the pattern on one panel needs to line up horizontally with the pattern on the panel next to it.

2. How to Apply

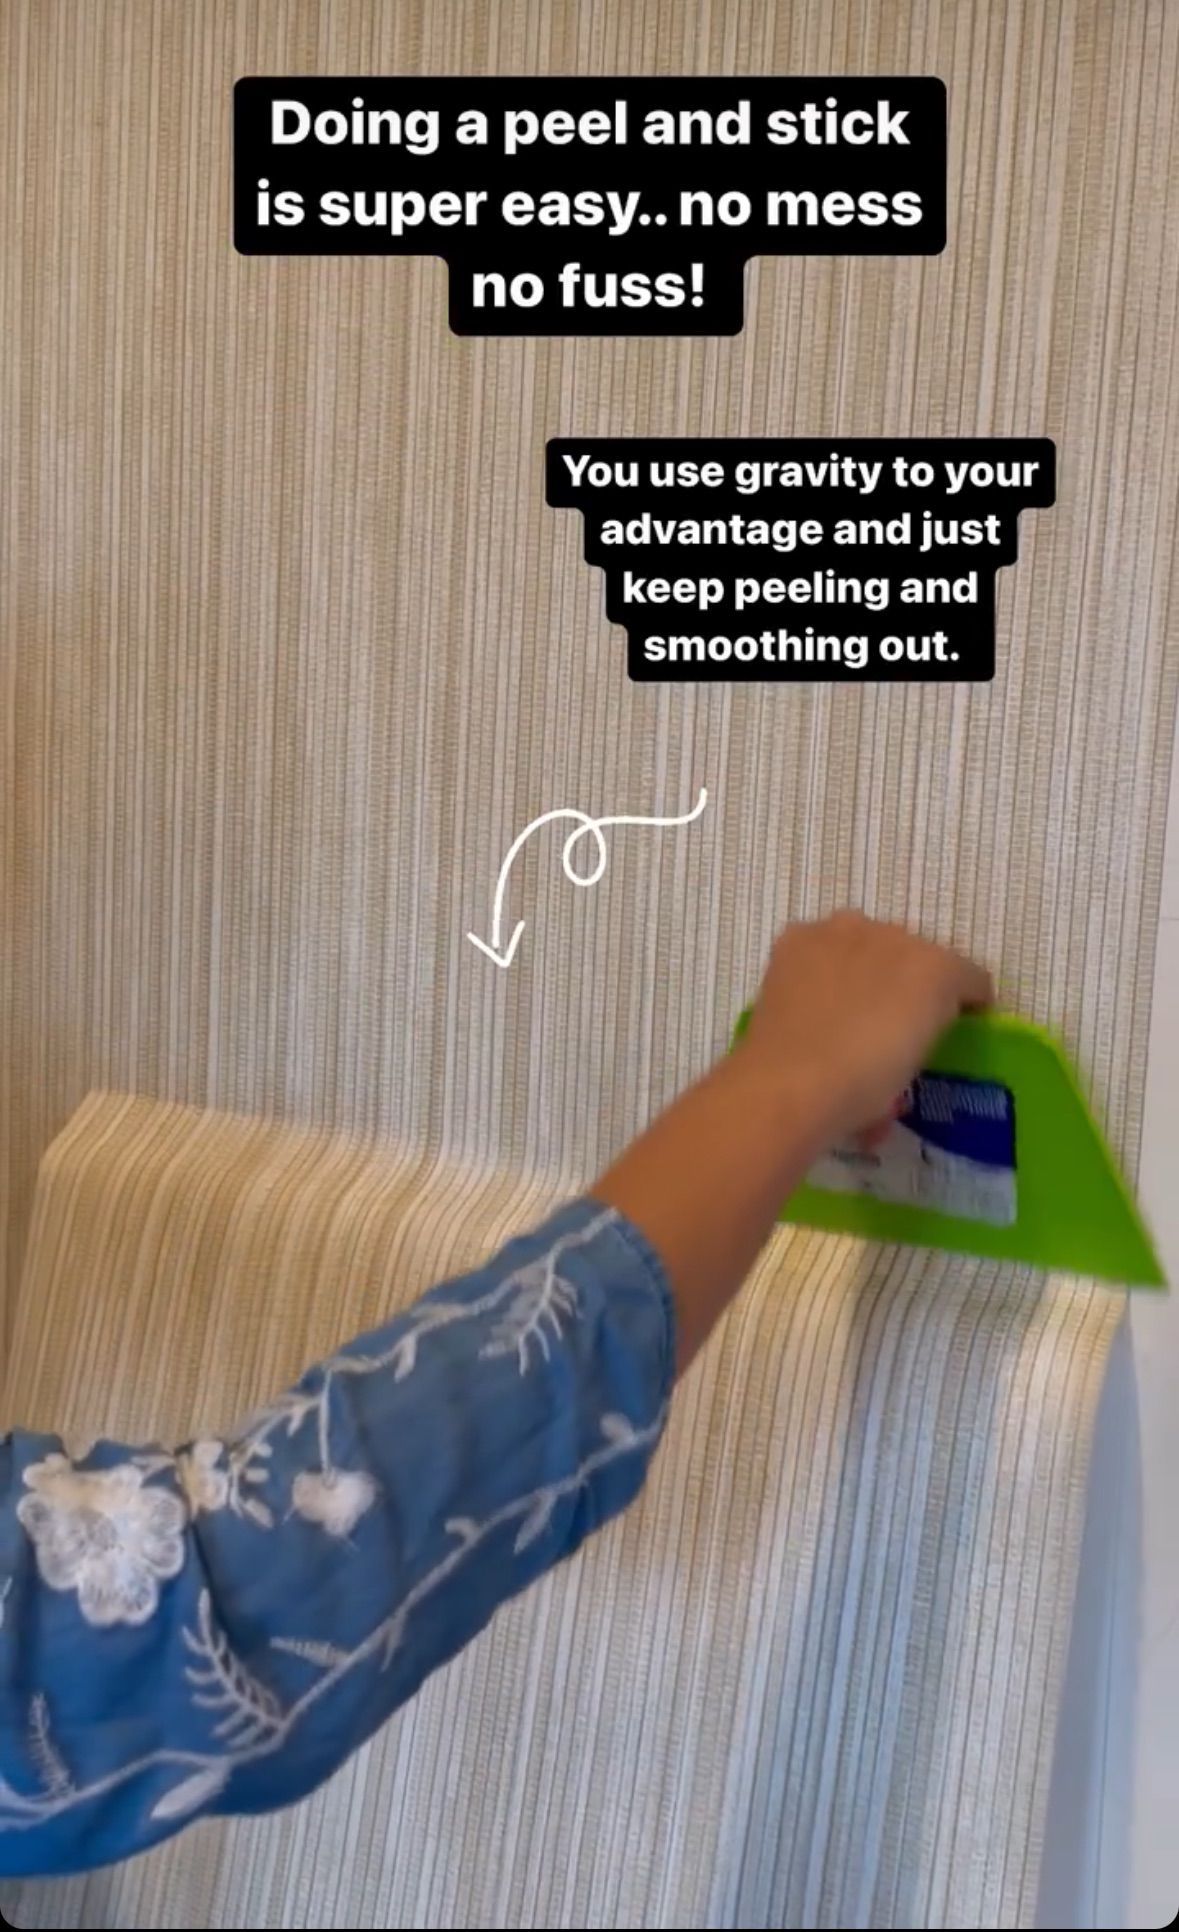
If you are using a peel and stick wallpaper, peel couple inches and stick them to the wall, repeat this process till you reach the end of the wall. DO NOT peel the whole wallpaper at once and try to apply to the wall, you will have a giant ball of paper stuck all over!


If you are manually pasting the wallpaper to the wall, use a high-quality 1/2-inch nap paint roller cover to apply paste—the cheap ones will leave fuzz balls all over the paper.

Make sure you keep smoothing the paper out as you apply to get rid of any air bubbles or wrinkles. I used the Roman’s wallpaper smoothening tool working from the center out to the edge of the paper. I have linked the tool in my amazon storefront.


Use natural sponges to clean off paste residue after each sheet is hung. It’s a lot easier to clean up the paste while it’s still moist instead of waiting until it cures. Roll every seam (overlappin edges between 2 wallpapers) with the seam roller and cut the edges using the taping knife. My Instagram stories bubble has videos of steps on how to do this part here Videos on how I did my wallpaper.


3. How to work around outlets and light fixtures

Make a relief cut before trimming the paper when you have to work around obstacles. Use a scissor around door/window trims and knife around socket edges.


Always work slowly and carefully in these areas so you don’t rip the paper. Use the breakaway knife to gently make two vertical cuts on either side of the plug (or light switch). Then use scissors to make a single horizontal cut in the middle of the plug area (put your finger underneath to pull the paper away and make it easier to cut). You will be left with a top and bottom flap; use the scissors to cut off each flap. Snip around the bottom of the plug where the screw goes in, then reattach the outlet covers.


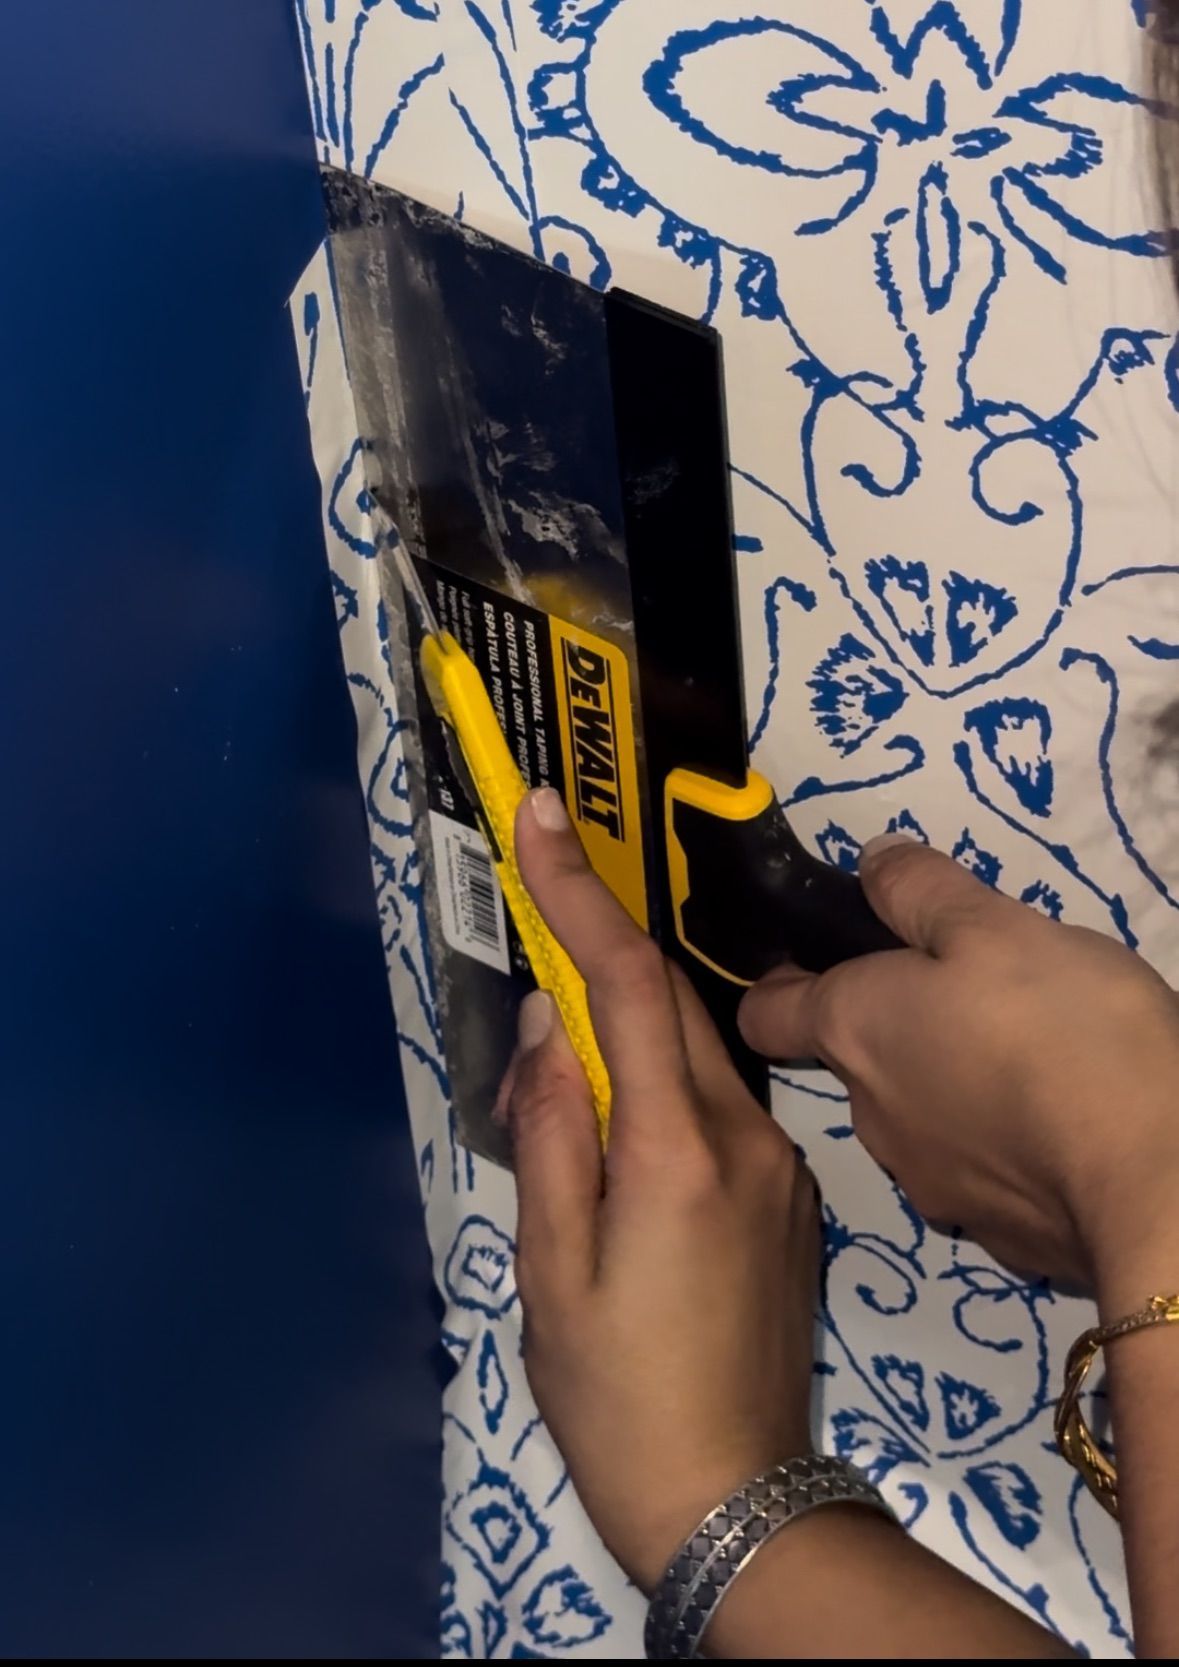
To cut the overlapping wallpaper on sides and bottom of the wall use the taping knife and break-away knife as seen in the picture.

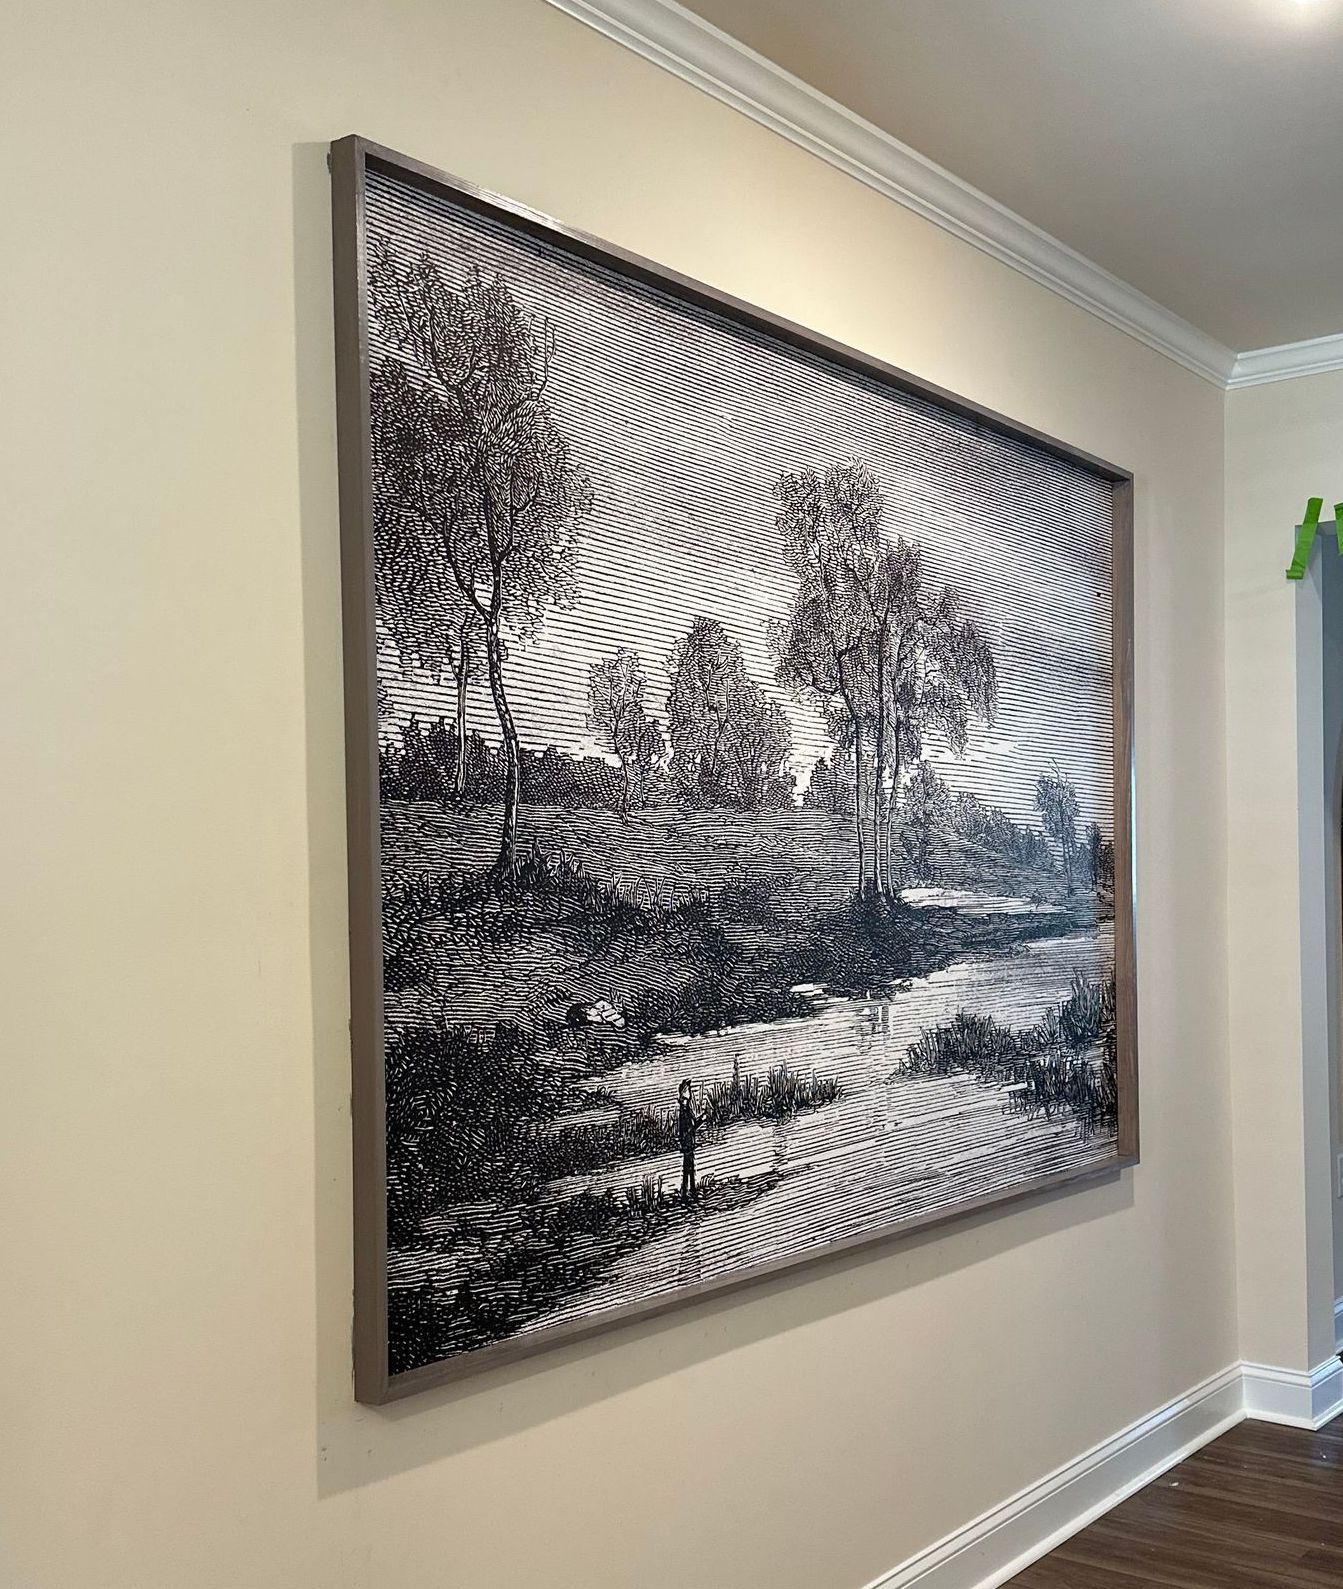
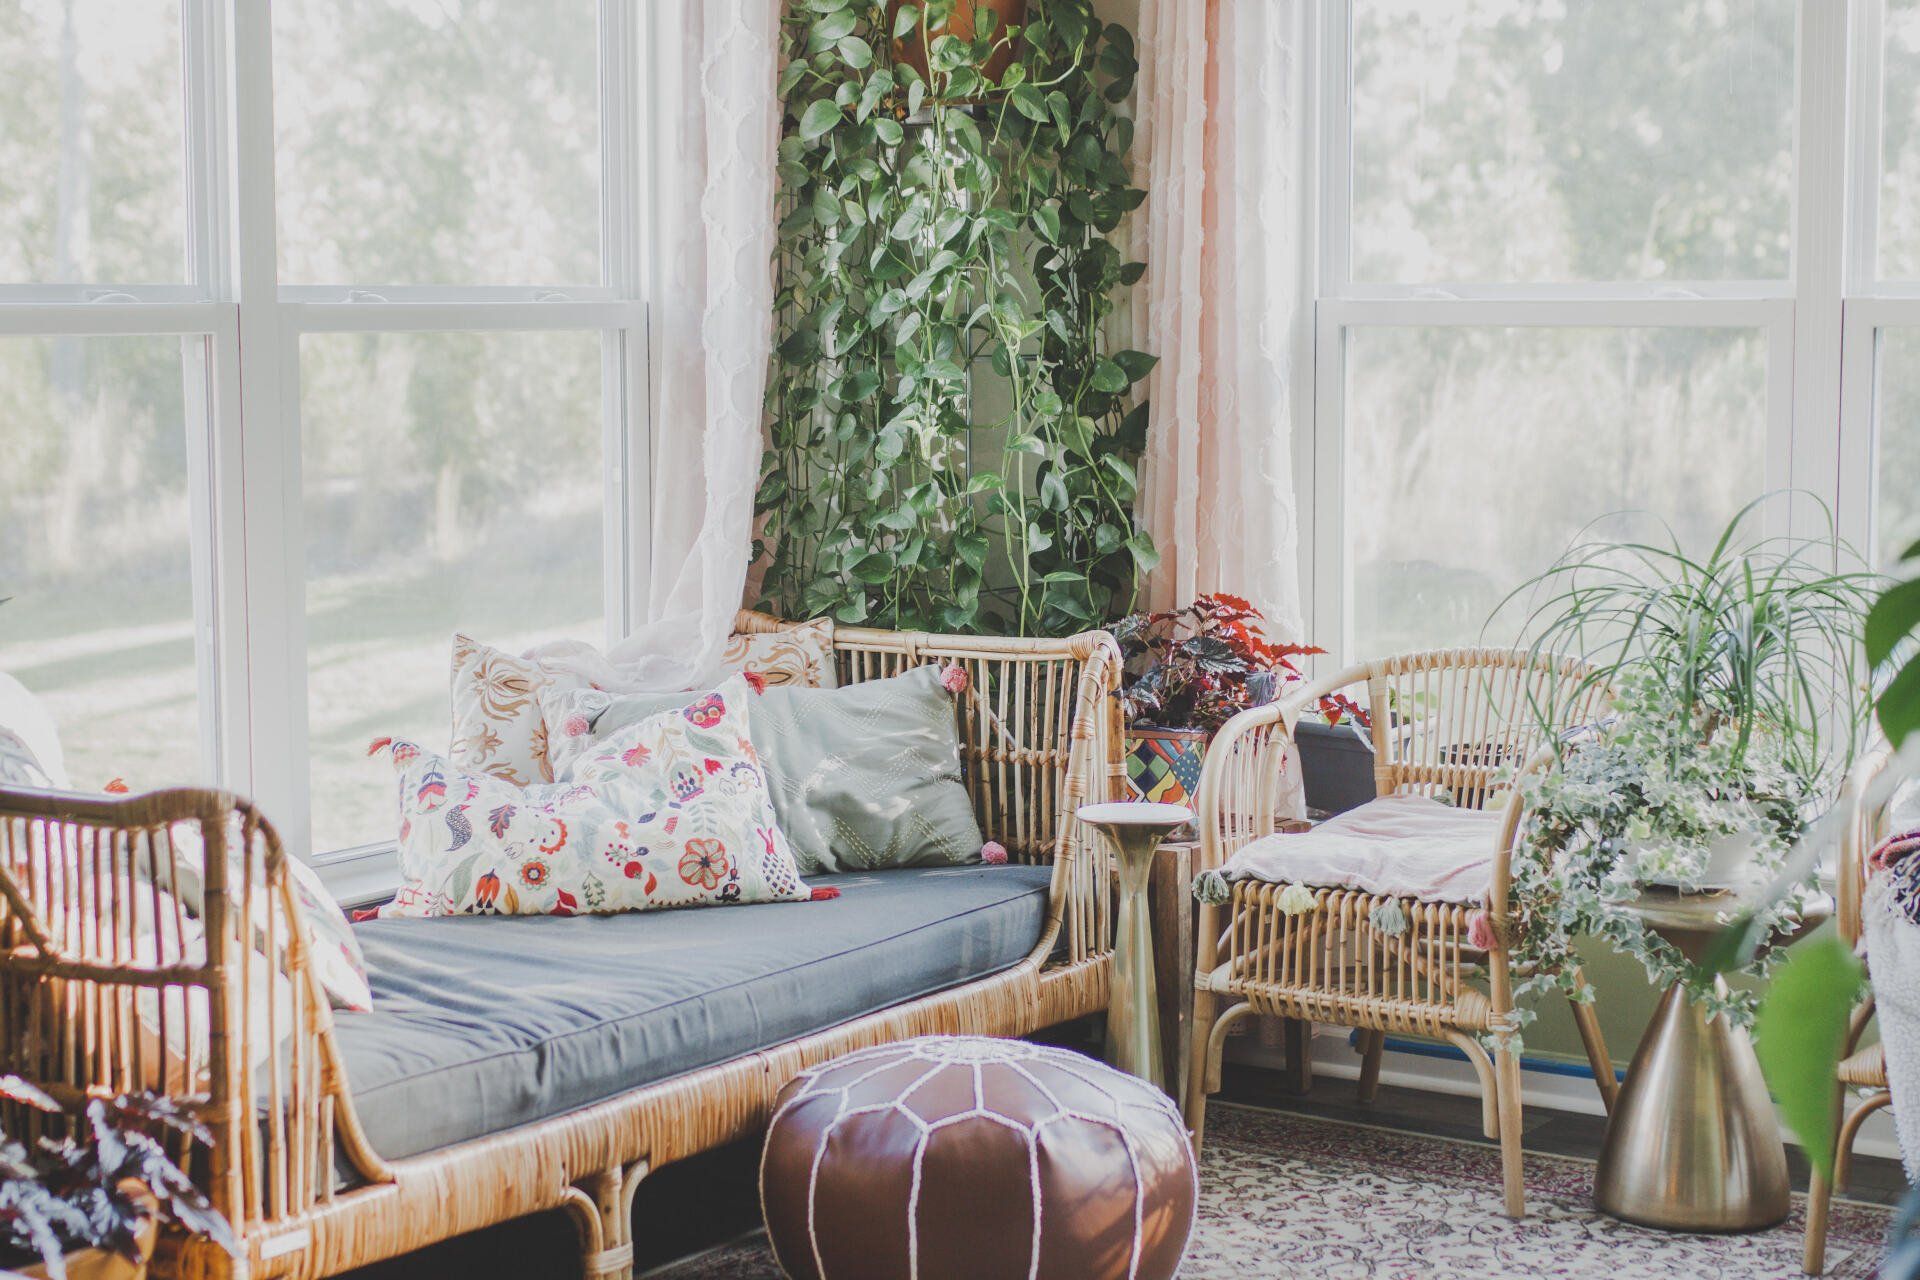
Below are some wallpaper projects done by me

board and batten, sunroom, boho sunroom, upcycled brain
February 9, 2022
Simple DIY Board and Batten
February 8, 2022
Simple Wall Trim
More Posts
Share by: